Five Tips For Bright Photos in Winter.
A few tips on how to keep your blog photos nice & bright in the dull winter weather…
Winter is upon us and comes with it is the dull and gloomy weather which involves cloudy skies and pouring rain. I wake up and it’s dark, I go to bed and it’s dark, it feels like there’s hardly any day light at this time of year. I do actually like winter but I hate how dark it is all of the time, especially when it comes to taking photos, it’s a nightmare! Nothing can really beat sunlight and the beautiful natural glow it gives when taking pictures, but when it’s really cloudy & dull outside there are a few things I do to keep my photos looking almost like they’ve got the hit of that bright sky.
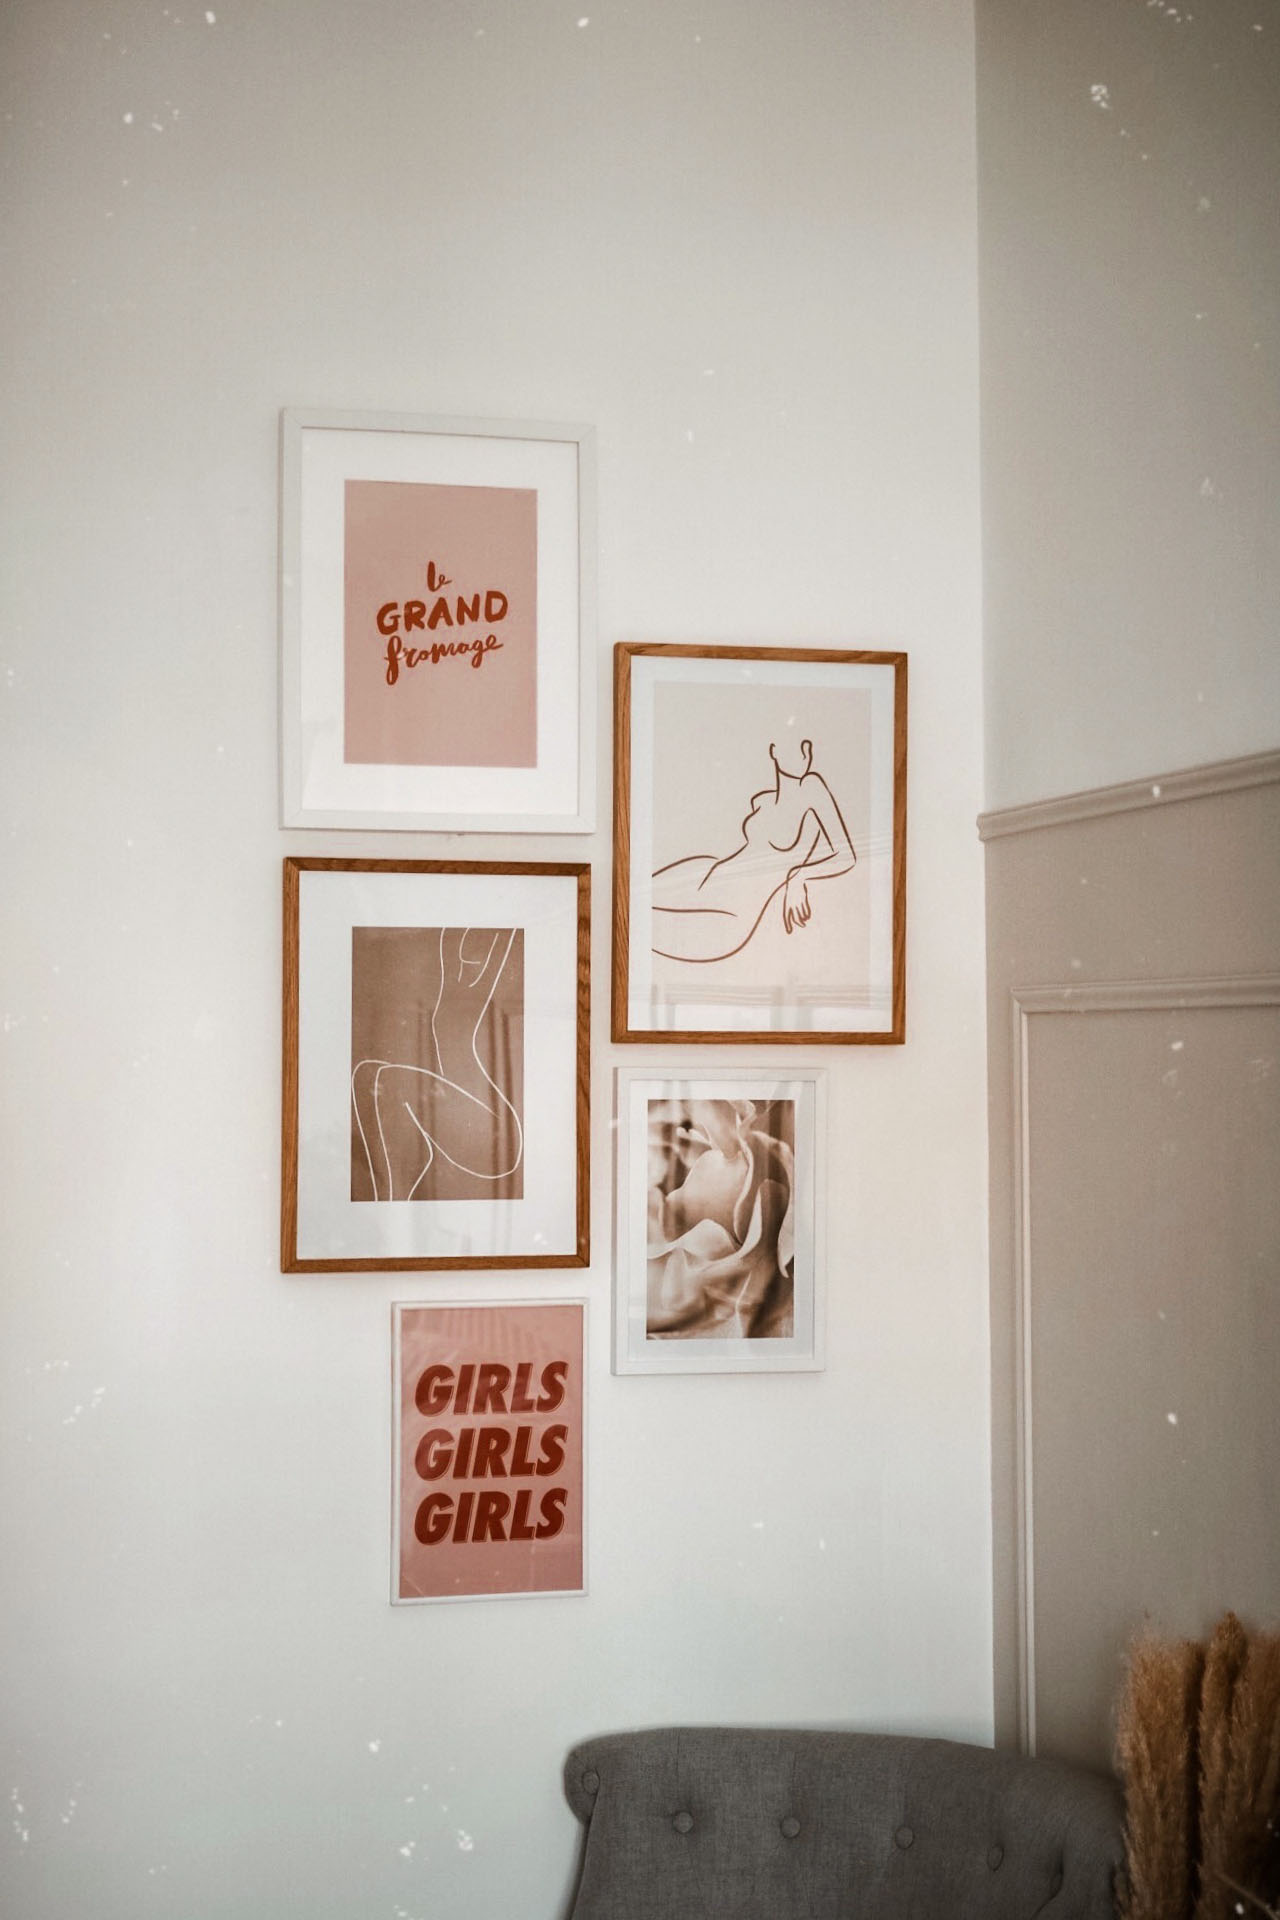
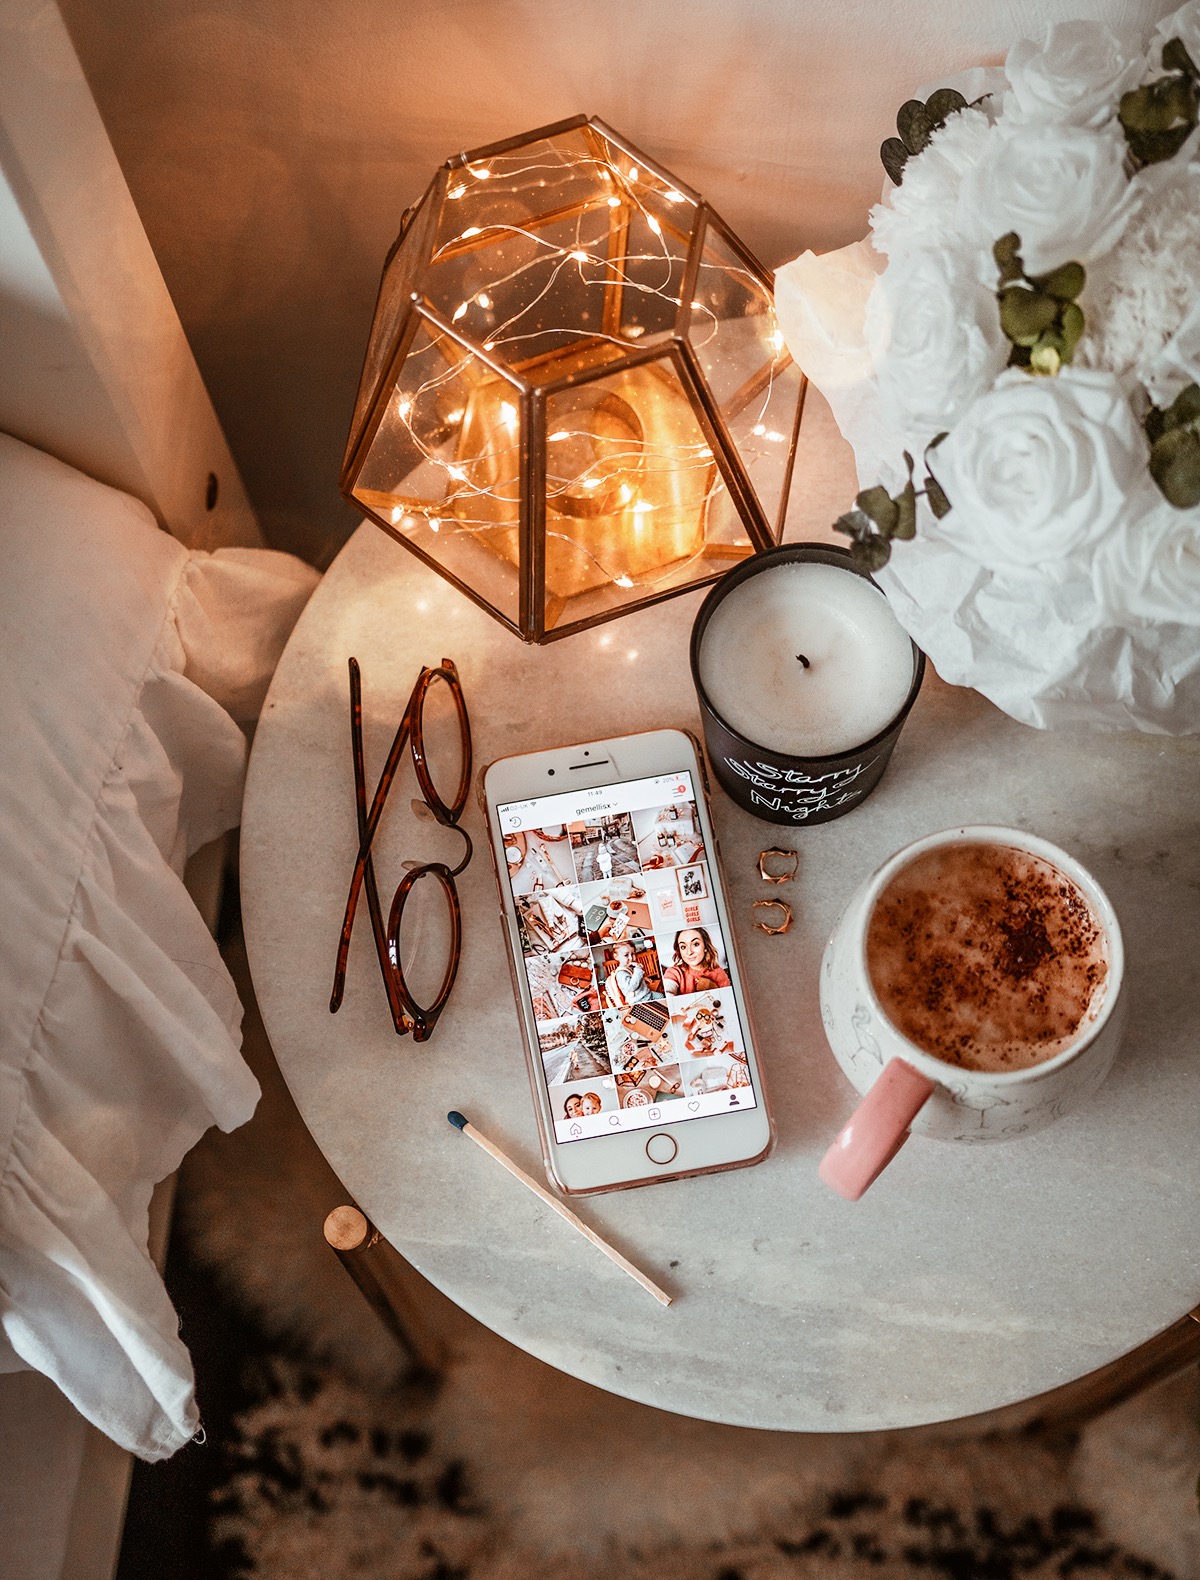
Backgrounds: Something that really contributes to bright photos is the backdrop you use, keeping them light will really help. Just like white walls make a space look bigger, white backgrounds make a photo look brighter. This is because light bounces off the light background and really helps to draw it to your photos. Any white or very light coloured background will work, even just a white wall or a white table, you don’t need anything extravagant. Working in a large open space will also help, if you have a very bright open space in your home then that would be perfect for helping to draw in the daylight. I mean light backgrounds make for better photos anyway but in dull weather they really do make all the difference.
Get The Sunlight: This isn’t always that easy in winter but we are sometimes blessed with bright blue skies and bright days and when they come around, the best thing to do is to make the most of them. Even on duller days, you’ll find that there will be a certain time of the day where the sky will be at it’s brightest and you just have to grab the opportunity and get your photos taken around that time. It’s usually mid morning when the sky is the brightest, although if it’s a really really miserable day then it probably won’t make a difference. Obviously mid morning isn’t the best time for everyone, especially during the week if you have work commitments etc but even on a weekend, just take every opportunity you can. And don’t just take the one photo, get them all done! Bulk photography will be your best friend during A/W, you really do just have to make the most of what light you can get.
Artificial Lighting: We all know (or should) that nothing compares to natural light, but sometimes you just need a bit of artificial lighting to help you get those bright shots. Investing in some artificial lighting can be really beneficial in the darker seasons, and there’s plenty of different types you can go for. I personally just use a flashgun which is basically a flash that you pop on the top of your DSLR and it bounces the light off the ceiling onto whatever you’re photographing to brighten up the shot. It’s not like a normal camera flash where you get all the harsh shadows and basically an ugly photo (I hate flash with a passion lol) it’s really really natural looking, trust me. It’s honestly my best friend when it comes to photography, but they can be quite pricey and are understandably out of most peoples price range. If you do want to invest in one, you can get one from Sigma for £80 here which is one of the cheaper options you can get, and it’s available for both Canon & Nikon DSLRS. I use both a Sigma and a Canon flashgun and they’re both really good! Other forms of artificial lighting are things like soft box lights which I think is what a lot of people have already have invested in. I used to have a couple but I never used them so I gave them to my sister, however they are pretty great and can help brighten up the space you’re in so that you get better photo results. They’re actually really affordable and I picked mine up on ebay for around £30, there’s a cheap option available here. You could also use a ring light which I’ve heard that some people use, I do have one myself but I haven’t used it yet for blog photos as I find my flashgun to be enough. I usually save my ring light for makeup photography rather than flat lays and things. I picked my ring light up on Amazon here which I found was the cheapest I could find one but I’ve had mine for a good year or more now and it’s fab!
Camera Settings: When taking photos in darker weather conditions, I always have a higher ISO as this helps to brighten your photos up loads. The darker it is, the higher it needs to be, however you do need to be aware that if you go really high it can make your pictures look grainy. If you’re just taking blog photos that will be saved for web, you can usually go up to about 1600 without it affecting the quality of your photo so you can actually go fairly high. Another setting that really helps is increasing the exposure, I usually drag this from the centre up to 1 and it makes such a difference to the outcome of my photos before I’ve even edited them and everything. You can go higher and go anything up to 3 but make sure your photos don’t get too over-exposed because it doesn’t look great and is harder to fix when it comes to editing.
Editing: So after you’ve put all the hard work into actually taking your photos, you can perfect them by then adding some good editing skills to the mix. I use Photoshop to edit all of my pictures, and a bit of brightness/contrast, exposure and curves totally makes all the difference. I don’t go mad on these, I like my photos to look natural and not over exposed or so bright that everything in the photo looks nothing like it does in reality. But just a little play around with each of these can brighten your photo so much and leave it looking really natural. I’m sure that we all edit our photos anyway but I do find the darker that they are, using these three different tools together is makes much more of a difference compared to just using one of them alone. Another good tool is Adobe Bridge, if you shoot in RAW and your pictures open up in Bridge, make the most of it! Bridge is one of the best tools Photoshop offers for photo editing and there’s loads of really fab settings in there for making photos look naturally bright and unedited. I mostly just play around with it until I get a good result but it’s definitely worth using.
So those are the five steps I take to get brighter photos during A/W when daylight is at its worst. Let me know if you found this useful or have any other tips!


