Are you wanting to master flat lay photography?
You guys know how much flat lay photography is loved around here. I’ve spent years trying to perfect mine and even now I’m constantly trying to improve. I feel like it took me a long time to get here, but I can actually just chuck a load of stuff together now and it looks good? I don’t even know how. It’s like my hands just know what to do. There’s no specific rules when it comes to flat lays, and we all have a style of our own – however, I definitely feel like a few tips here and there can help you to achieve the image that you want to achieve. If you’re still figuring out how to create the perfect flat lay for you, then here’s some things to think about…
The Colour Scheme
I feel like the colour scheme in any kind of photo is so important. This is why presets are so popular, the way you can edit the tone and colouring of a photo just really brings it all together to create a more gorgeous look. But you can’t edit your way out of a bad photo, so make sure to think about the colour palette when you’re putting your flat lay together. A lot of my ornaments, trinkets and jewellery are gold so when I’m using my belongings for props in my photos, everything always ties in nicely with the gold accents that I add. This could work just as well with any other colour.

Try Different Heights
Don’t keep it flat. I realise that defeats the object of a flat lay but you’d be surprised what a difference it can make to the overall look by standing things up instead of laying them down. I use things like candles a lot in my flat lays, or prop things up on books, stack makeup palettes on top of each other… the different heights make for a much more interesting photo and it’s more pleasing to the eye.
Experiment With Mess
I do see the appeal to flat lays where everything is really organised and straight, but my personal taste when it comes to flat lays is when a bit more personality is injected into them. I think you can create something really beautiful when you more or less “chuck” it all together. I love to put my products down and then just randomly add props in around them at different angles, basically an organised mess. I think too many people spend hours trying to create the perfect photo when the reality is, you could get there in 5 minutes by not trying so hard. Have a think about how long you spend putting a flat lay together and try and half that time by not staring at it until it’s perfect – focus more on throwing everything together within a few minutes and I think you’ll be surprised!
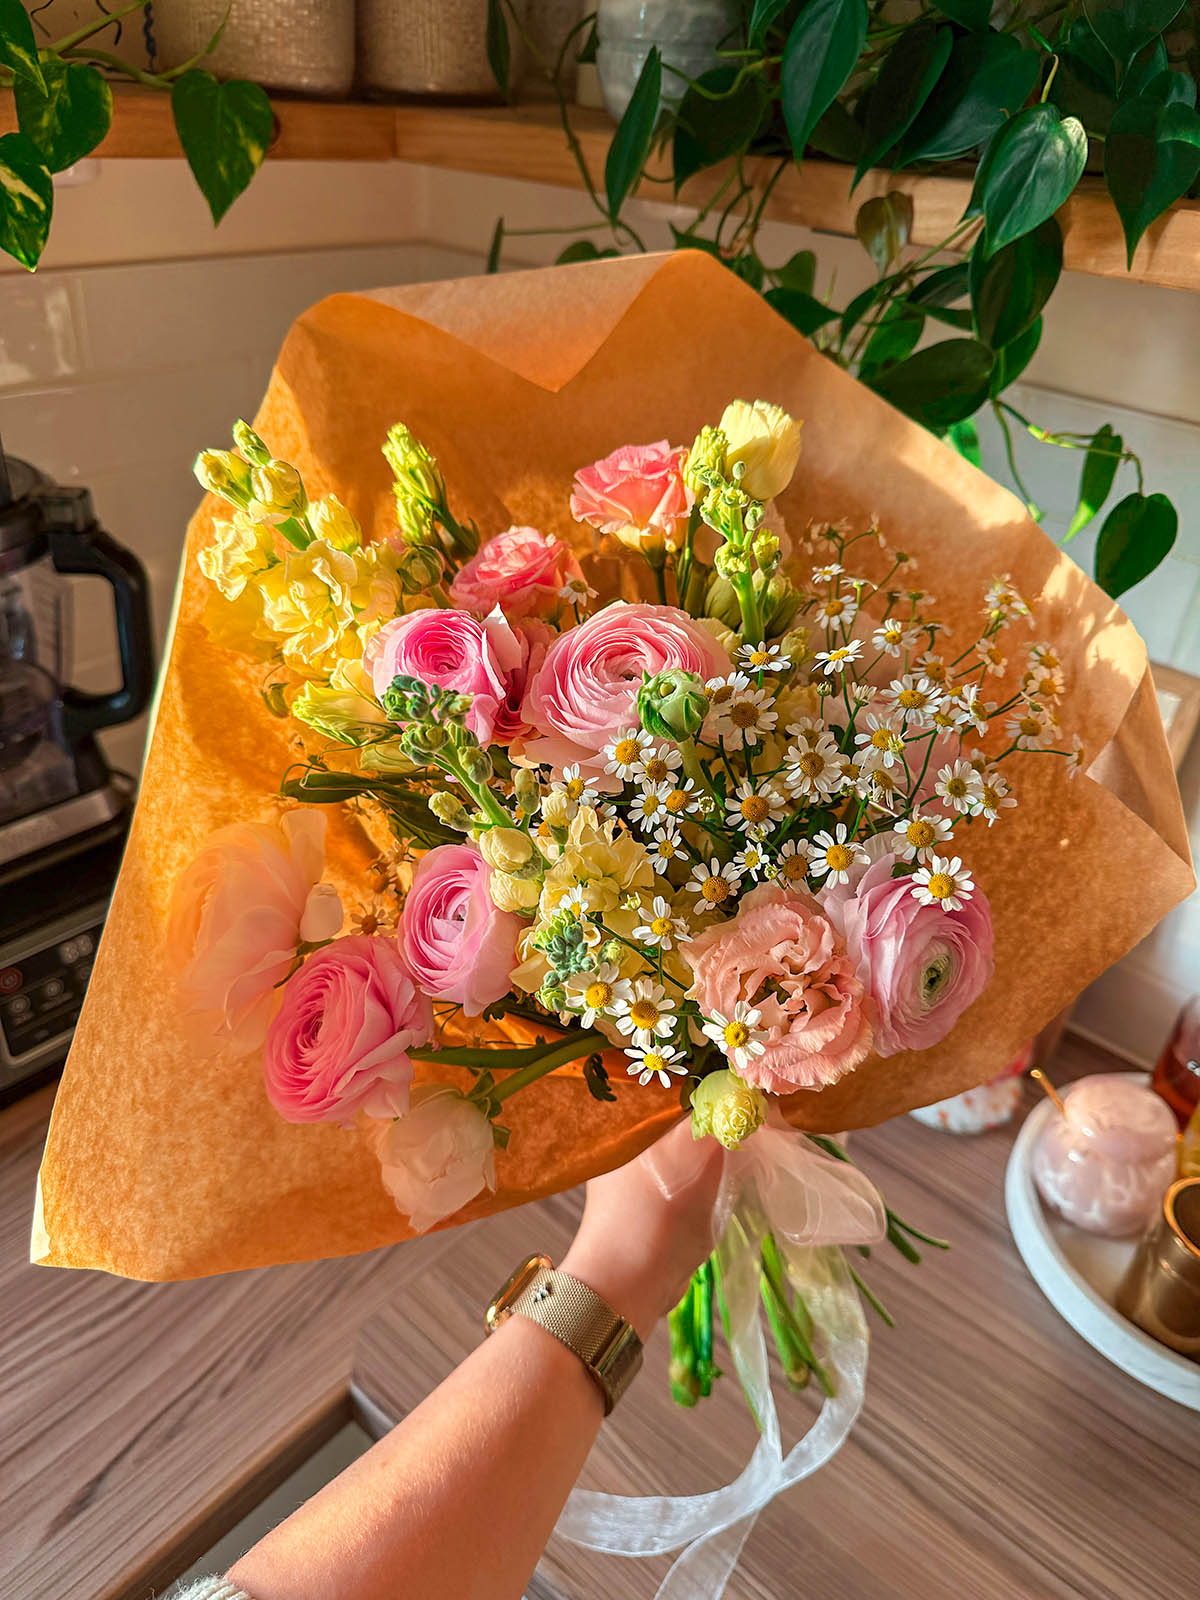
Play With The Aperture
Apertures comes into play with flat lays and not just portrait or landscape photography. If you’re shooting with a camera then have a play about with the aperture on it. The larger the aperture (lower number) is, the more you’ll get blur from things that are standing up in the flat lay, like a vase of flowers for example. The photos in this post are a good example of that, it just adds something nice to a flat lay doesn’t it, rather than everything being in focus. The lower the aperture (higher number) the more you’ll get everything in the frame in focus, this can be much better if you have things at different heights – say stacking some products on top of books for example and you want them to stay in focus with everything else rather than being blurred. It really depends on the kind of photo that you’re taking and want to create but never stick to auto settings.
It’s All About Balance
Another important factor to a good flat lay is to balance it all out nicely, think about the size of the products compared to the props you use, let me think of an example… Let’s say, you’re photographing a book, it would look pretty unbalanced if the props you used were other books of the same size. However, if you added in some bookmarks that are a completely different size and shape, you’re giving the photo a nice balance. Another form of good balance is to surround a product equally, so don’t fill three corners of the photo and leave one empty.
Think About Your Props
My style is something that’s developed over time and I’m sure will continue to develop over the years, but right now I like injecting a bit of my own personality into my flat lays. I’ll take things off my shelves in my room and use my everyday essentials such as my diary and my laptop as props, rather than having a big box of blog props that never see the light of day until I include them in my photos. I find I mostly use a box of props such as ribbons & sequins for things like Christmas content, gift guides, etc, more than my actual day to day content.
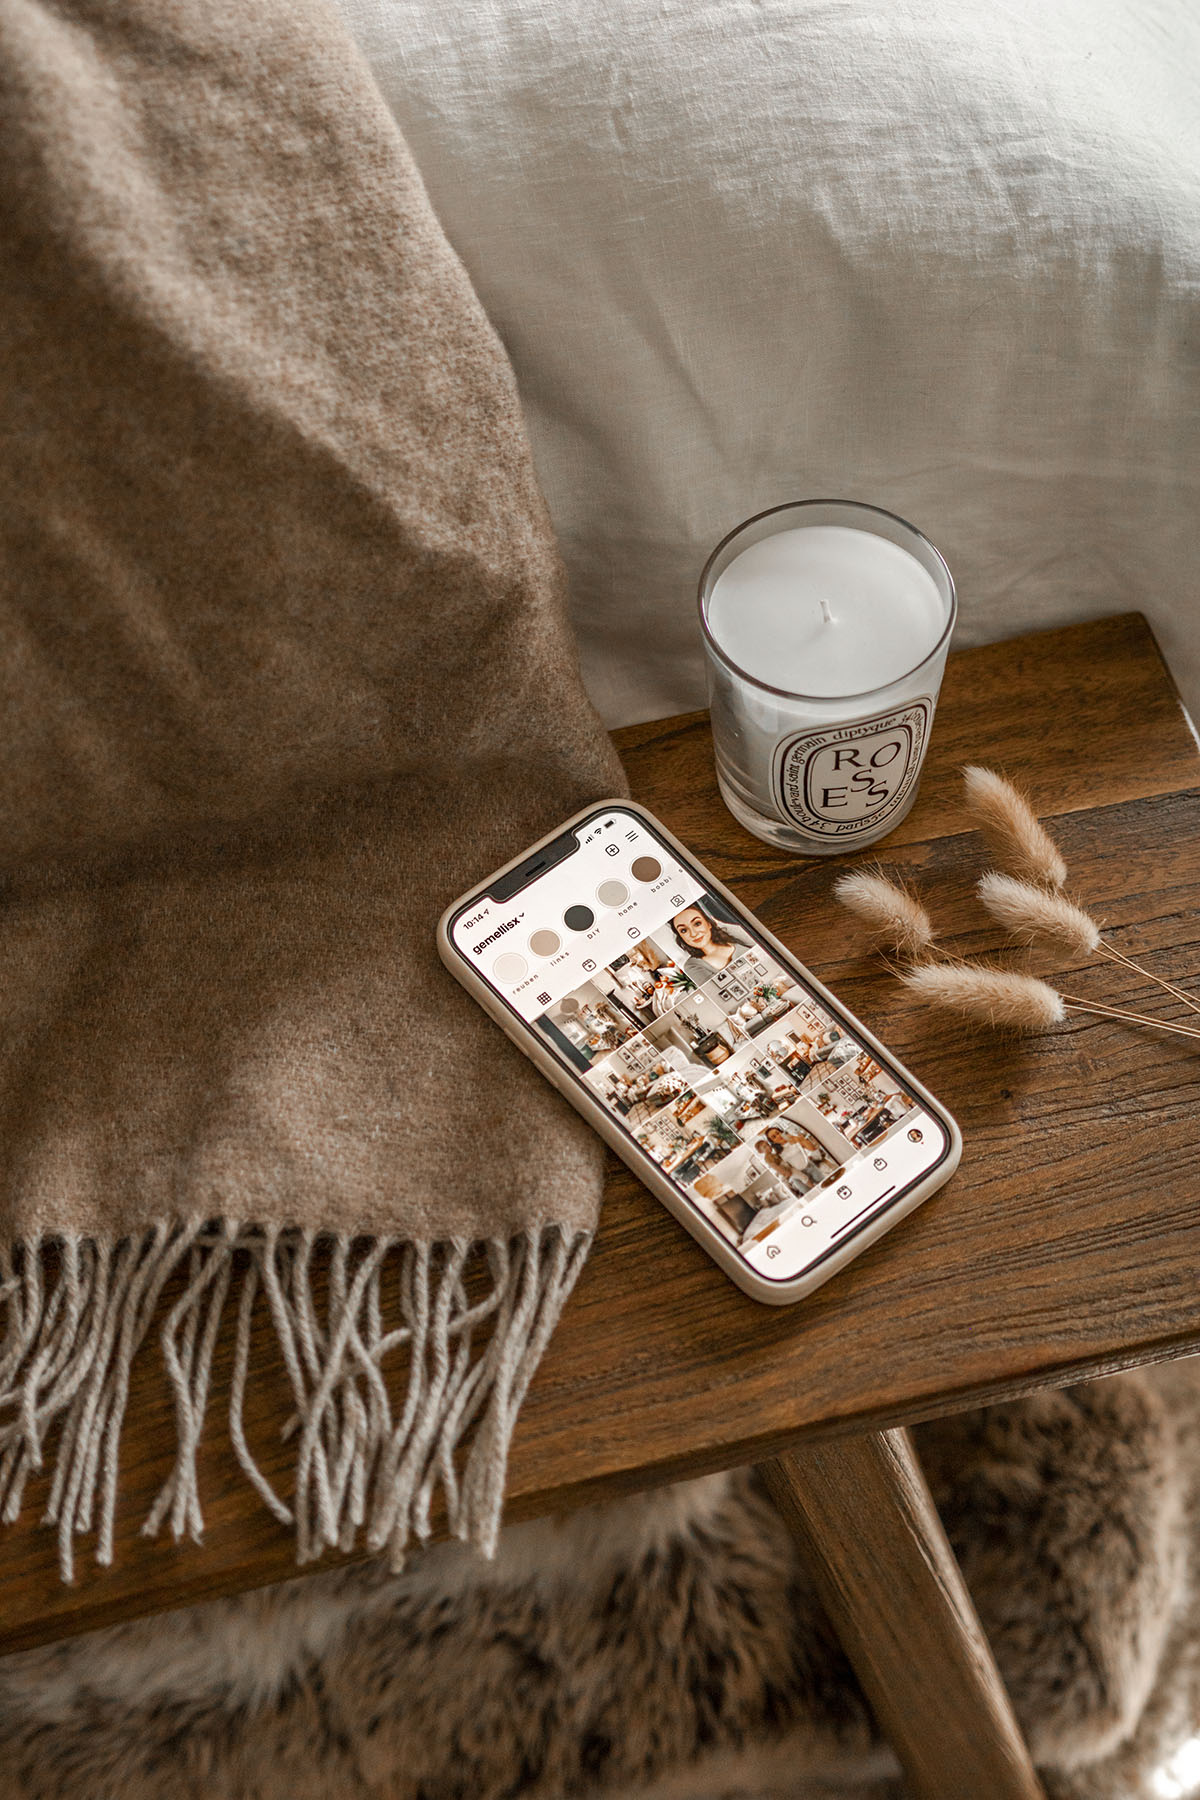
Lighting Has A Huge Impact
I realise that for a lot of bloggers who have a full time job outside of blogging, it’s not always possible to shoot content in daylight (particularly in winter!) but there are always ways around this. Natural lighting is so important, especially when it comes to flat lays because artificial lighting will give you those harsh shadows that you really want to avoid. It’s still possible to shoot them, as I’m sure people do, and you can always do a bit of editing… but in general, they look far better shot in natural lighting. Make use of the lighter evenings in summer and pre-shoot as much content as you can for winter. Even if this is just shooting one or two extra flat lays a week. It’s obviously not feasible for writing about things in the moment like new products and collaborations but you could always shoot your go-to winter staples a few weeks before. For shooting during winter, I’d probably recommend getting up half an hour earlier and using that time slot to shoot.
Are you a flat lay fan? What’s your top tip?