Easy DIY Wall Panelling
When I see something I like the look of, such as DIY Wall Panelling, I’m one for just cracking on and giving it a good go. Well last week I decided to give DIY wall panelling a try and panel my bedroom wall… and that’s exactly what happened. I ordered the wood a few weeks ago and I was just waiting for my dad to drop off his mitre saw to do the corners before I could start, but once the measurements and wood had been cut, the rest was pretty easy. I’m absolutely awful at DIY and I get most of my knowledge from my dad but I don’t think this turned out badly at all and I’m definitely tempted to have a go at another wall now. If you want to find out the process, then keep reading…
DIY Wall Panelling:
The First Step:
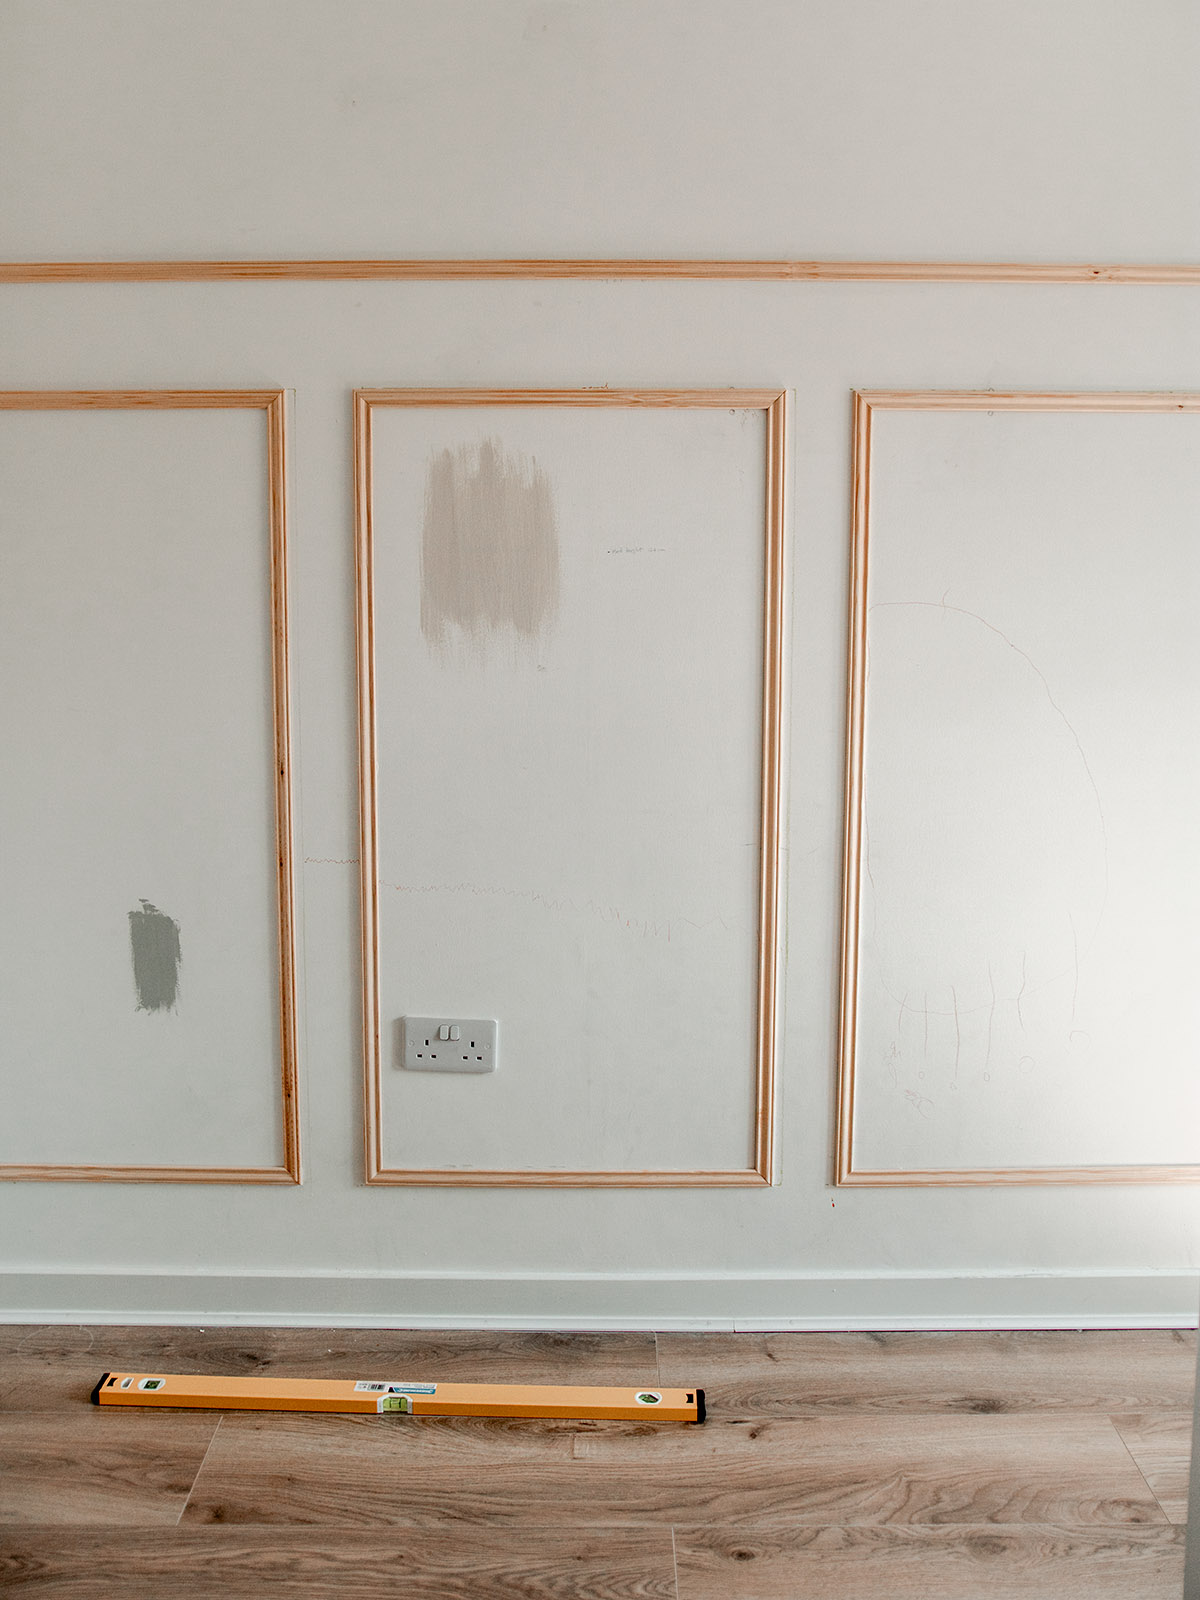
The first step, and personally, I think the hardest, is the measurements. I worked out roughly how high I wanted my wall panelling to be, put a small mark and then measured the height (up to the mark) and length of the wall. To work out the size of the panels and get an even space between the wall and the gap between each panel, I found it easier to use a calculator to work it out for me. I found one on google which worked out I could do 5 panels at 65cm wide with 10cm between each one. I used my tape measure to draw them onto the wall so I knew where I was going to be putting the wood strips.
I only realised after I’d finished that the gap on the far right side of the wall was too small, this wouldn’t have been that noticeable but probably something to consider before you spend ages drawing them on. I definitely will next time! Instead of re-drawing (it took me ages to measure it all out) I just shifted the panels by a couple of cm when I was putting the actual moulding strips onto the wall to save time. I still used the guide and measured as I went along so it worked out fine. They only needed shifting to the left by 2cm so I just used my tape measure and put a little mark 2cm to the left beside the top and bottom of the panel. A tiny mistake is easily fixable – this is why you need to draw them on first before you go in with the glue!
The Cutting
My moulding strips that I used are the Wickes Pine 3 Rise Panel Moulding Strips. If you’re opting for my style of panelling, you’ll most likely need a mitre box to cut the corners of the strips so that they join up perfectly. If you don’t use one it’s going to be really hard to get it accurate so that you get an even, straight shape. I borrowed my dads mitre box, but you can easily pick these up at DIY stores, and then just cut the strips using a saw to the measurements I had previously worked out. It doesn’t really matter if you have a tiny gap as you can use filler to sort it out, but you want to be getting it as close as you can.
The Gluing
To glue them on, I used the No Nonsense Grab Adhesive from Screwfix, this is what professional joiners use and it’s £1.99 a tube. I only used one tube so the glue cost me all of two pounds! I would recommend it as it’s such good glue, holds amazingly and dries really fast but still has a tiny bit of leeway when putting on the strips just so you can move them into the correct place. *Edit: 2023: the panelling is currently three years going strong.* You need a gun to use the No Nonsense glue but it makes it so much easier to apply and guns are only around a fiver – you’ll also need one for your filler afterwards anyway.
Filling in the Gaps
After the glue is fully dried (after a few hours, but leave it 24 hours if you want to be on the safe side) you can then go in with decorators caulk which is essentially a filler that seals in gaps and cracks. You can pick this up for 99p a tube from Screwfix and it goes a long way, I had my last tube for ages and did loads of the house with it. It’s cheap and works amazing for filling in cracks in the walls, or on your skirting boards… etc. And of course for your panelling! If you don’t have straight walls you’re likely to have bigger gaps like some of mine, but I’d advise going around the mouldings with filler even if you don’t, just to give it a more professional finish. You’ll need to use it in the corners too. Once you’ve done that and allowed it to fully set then it’s time to paint!
Adding Paint
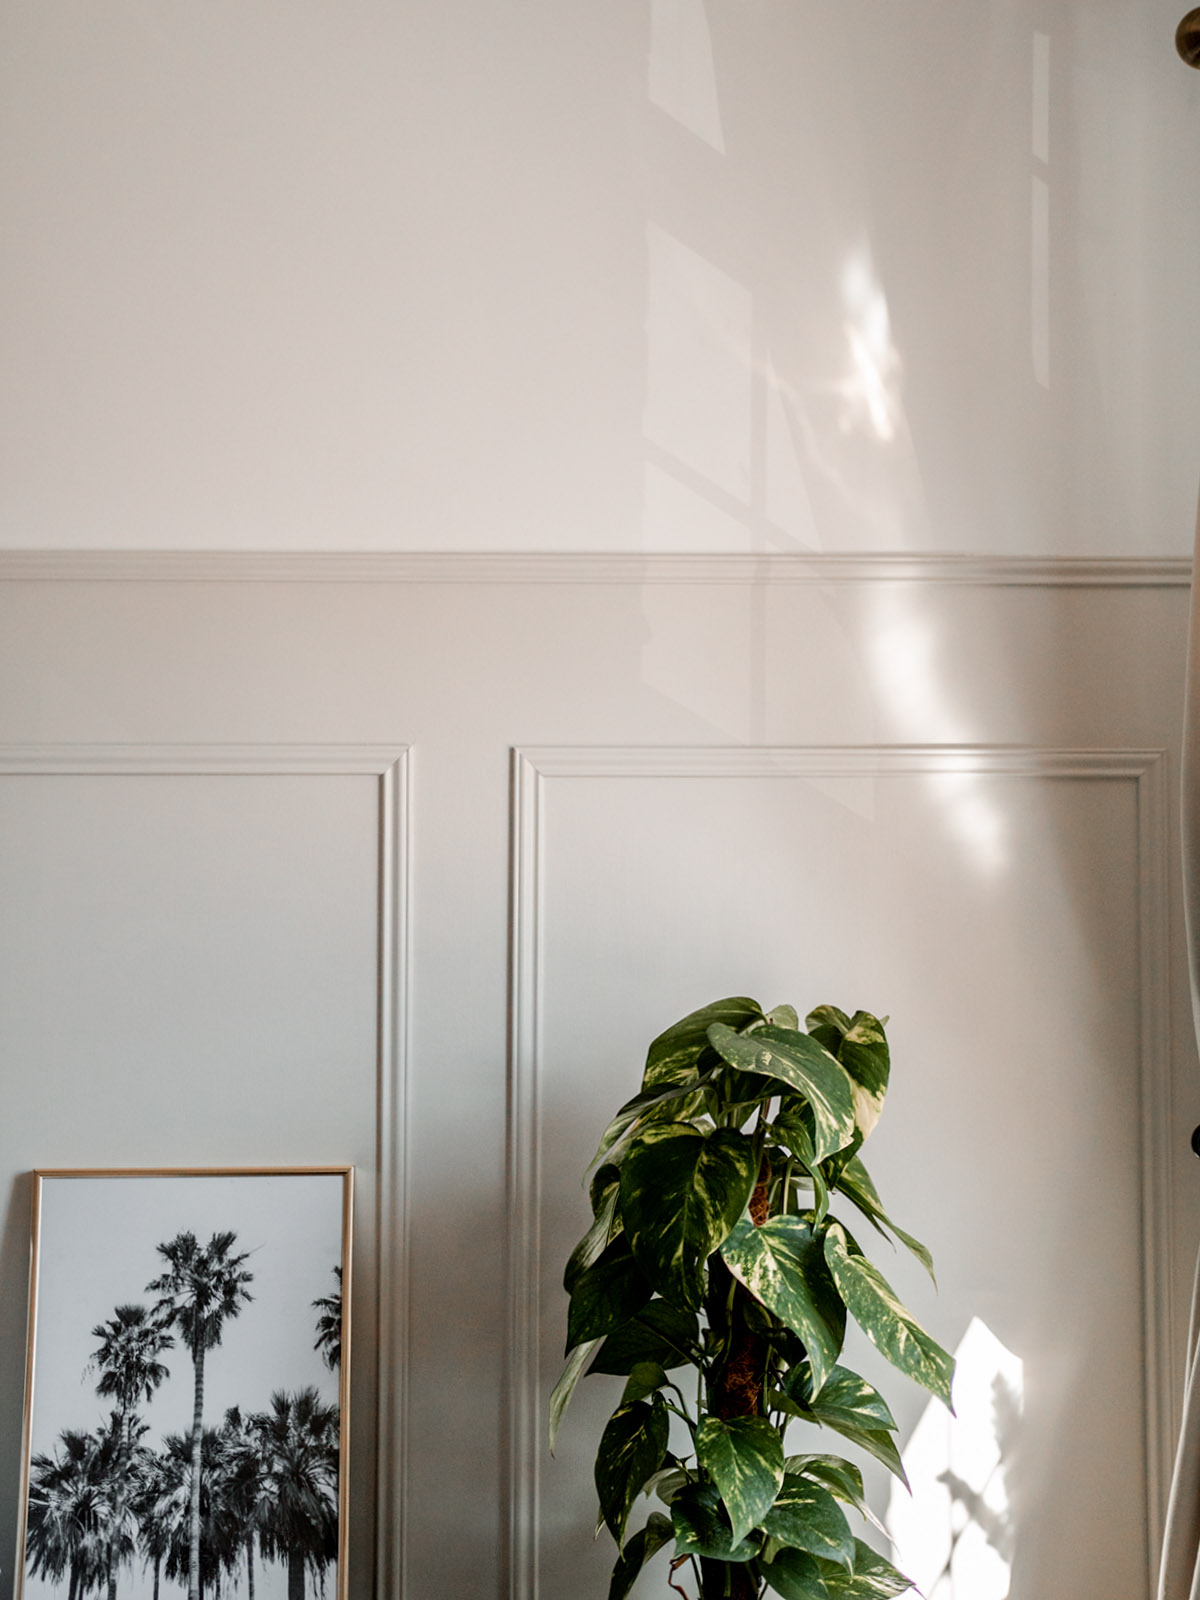
If you use MDF for your wall panelling, you need to prime it first but as my moulding strips are pine, it wasn’t necessary. You can prime the wood if you really want to but I just think, why bother, it’s just extra time and money that isn’t needed. Obviously you can use whatever colour you like for this step but I had my heart set on Dulux Egyptian Cotton which I couldn’t find in stock anywhere online due to the pandemic. I ended up ordering it from The Decorating Centre Online where you can get paint mixed to any colour/brand of your choice. It’s a bit more expensive but at least you can get the colour you want. I think my paint was the Leyland Trade Vinyl Soft Sheen paint.
I ended up doing three coats of paint, it could have been left at two but I thought I’d whack an extra coat on so it holds up better – I do have a toddler after all! I also used masking tape around the edges to get a clean cut (frog tape is better but I couldn’t find mine) although I had to do a few touch ups at the end. If you do a thin layer of caulk over the edge of your frog tape, it’s less likely to need touch ups at the end.
The finished result!
And that’s how I panelled my wall! Minus the drying waiting time for the glue, filler and paint it actually only took all of a few hours to do. I found the measurements the hardest part, as I wanted it to be accurate and even. A calculator definitely helps save lots of time and stress. I’m definitely eager to panel more walls but I think I might try some other styles of wall panelling next.
What do you think? Have you ever tried DIY wall panelling?


