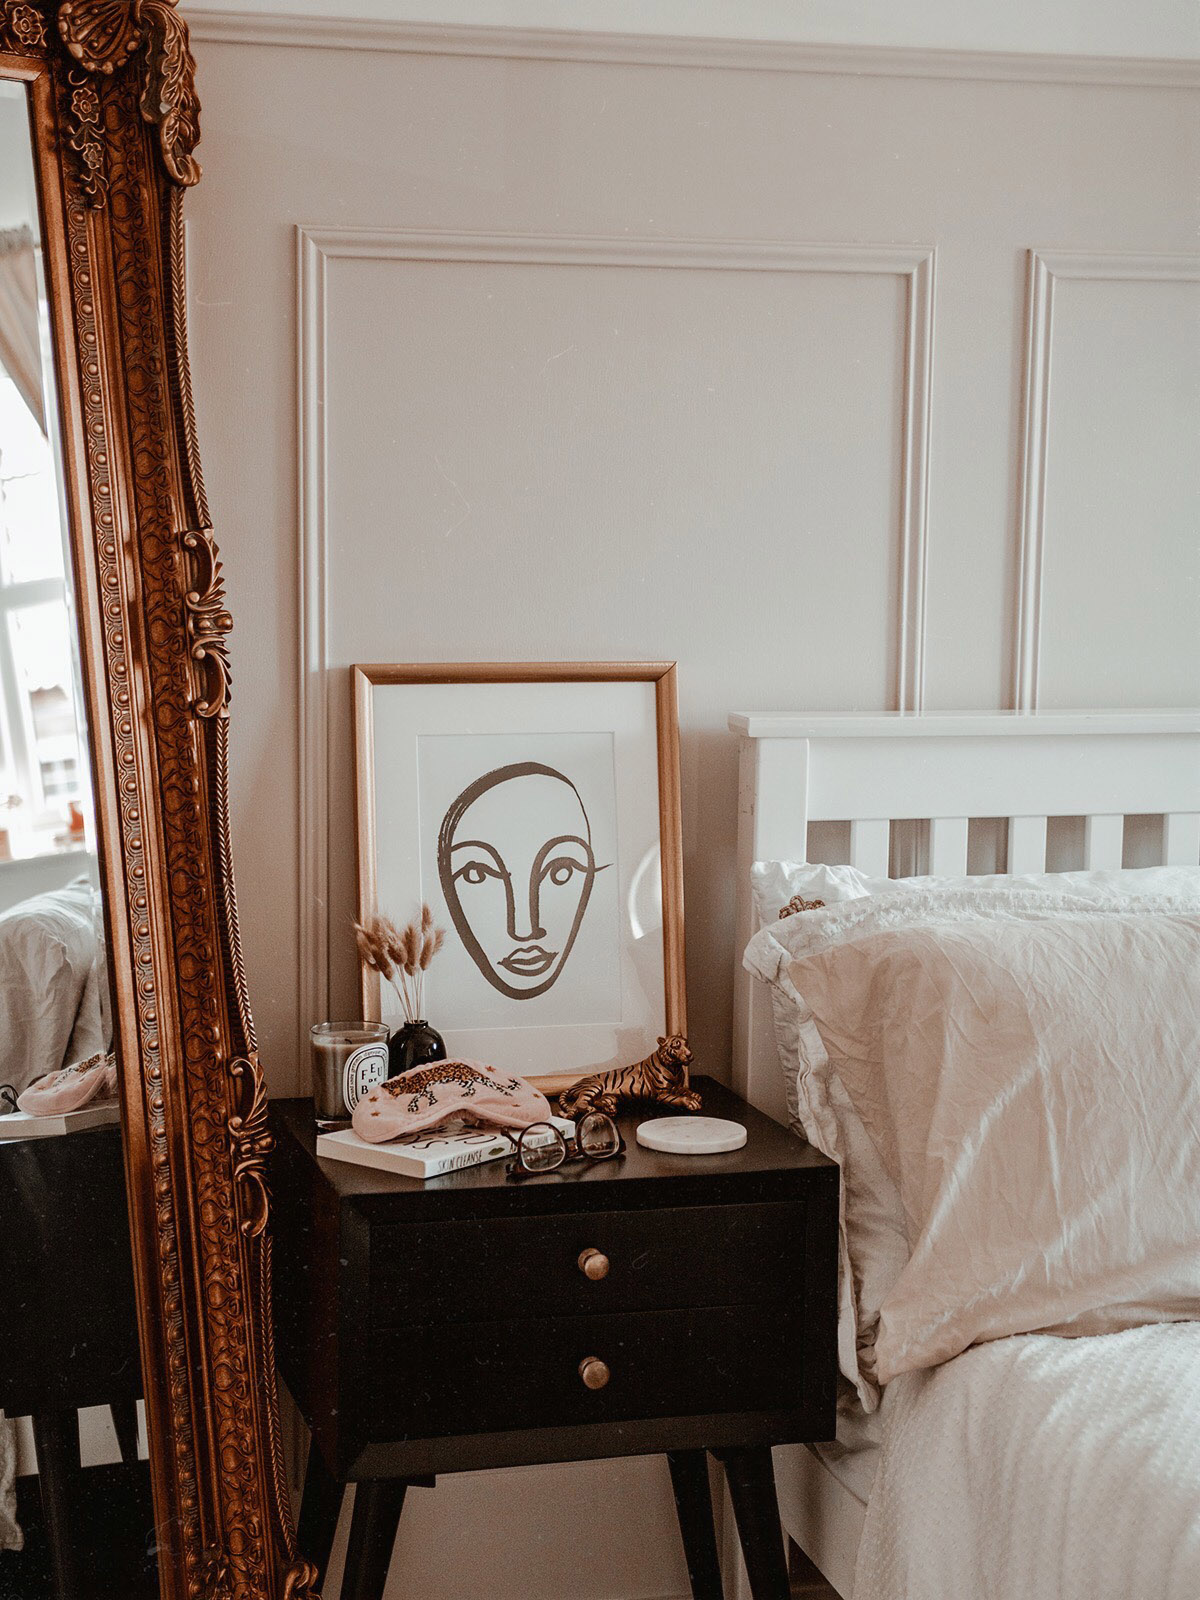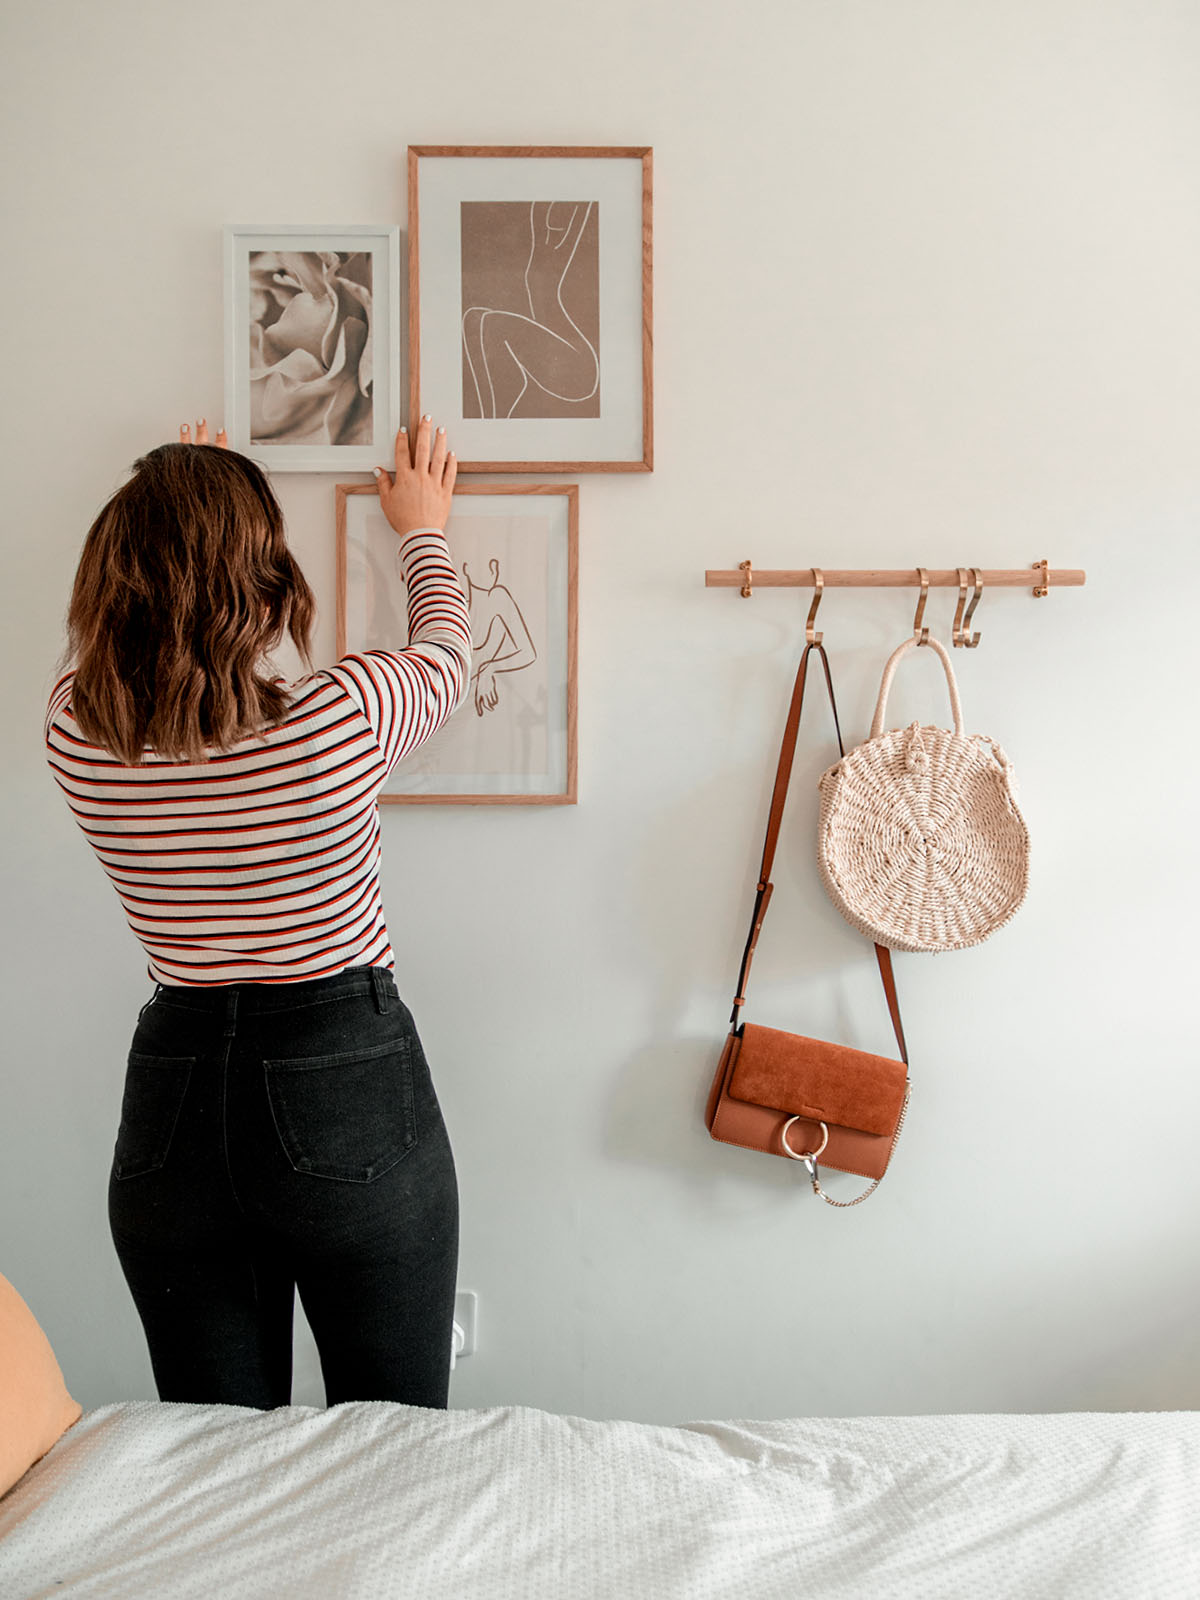
Creating a gallery wall is one of my favourite things to do, and you can find them in almost every room in my home – even the hallway! I just love to select prints that pair together perfectly and then arrange them on the wall as a whole. I think it adds such a lovely contrast and pop of colour to a room, and honestly, there’s nothing I hate more than bare walls.
I often get messages on instagram asking for tips on how to create a gallery wall, and how to arrange them so that they work together – so I thought I’d create a blog post with my top tips.
Here’s how to nail a gallery wall… literally.


Picking Your Prints
One thing I will say first off, is that I’m not going to tell you exactly what prints to buy, what colours to go for or what frames to choose. This all depends on personal preference, what interior style you have and in my honest opinion, I don’t think there is a wrong way to create a gallery wall. I’ve seen beautiful gallery walls that are made up of what you may think would be clashing prints and frames, and they actually look insane. I really think it’s about how you arrange them and not what you arrange them with. But we’ll get into that more later! What I will say is, try and stick to one type of frame/colour or make sure you buy a big enough assortment of different ones. If your gallery wall is large, don’t buy six black frames and one gold one, buy five black frames and a couple of gold ones to mix in between the black ones, you know? Or – like my hallway gallery wall, you could just stick to one colour. I opted for all black frames as I was aiming for that contrast on the big white wall.
In terms of prints, I find choosing a couple of different styles works well, or just sticking to one style, but again, clashing ones look great too. I usually like to choose a mixture of photographs and illustrations, or I just have a gallery wall that’s made up of all abstract/illustrative prints. That’s my personal style and preference as I think photos add a nice contrast to illustrations. You could pick a few different types of artwork but I think it works well to choose a couple from each style and not just one of each, as then it’s easier to create a layout with them.
I also love my structured kitchen gallery wall where the frames are all aligned and the prints are all black and white, choosing black frames with mounts gives it lots of contrast so that it still makes an impact without the colour.


Arrange The Layout
As I touched on earlier, arranging the layout is the most important thing. Whether you have an assortment of completely different prints and frames, or they all tie in together perfectly, they will look rubbish if the layout isn’t on point. All gallery walls, regardless of what prints/frames you pick can look incredible, it all just depends on the arrangement of them. I always frame my prints, and then put them all on the floor and start playing around with the layout. I’ve taken a few snaps on my phone from the various gallery walls I’ve created so you can see how I plan mine out. The above photos are from the gallery wall in my living room where I laid all of the framed prints out on the rug, in the end I never ended up using either of those layouts and put up a completely different one. I find it does take quite a bit of playing around if you have a large gallery wall with a fair few prints like this one.
My top tips for layout arrangement would be to make sure you mix up the sizes, don’t put prints that are the same size all next to each other, shuffle them around and put smaller ones in between them, above and below them, etc. If you have an assortment of prints and frames, try and mix up the frames and colours so that it looks more shuffled.


Decide On The Gap
Deciding on how big you want the gaps to be whilst your gallery wall is laid out on the floor is pretty important, I think. The amount of times I’ve put prints up on the wall and hated the gaps, they’ve either been too close together or too far apart and it’s such a faff to adjust them. It’s way easier to whip a tape measure out and decide on your spacing before it goes on the wall. Honestly, it will make your life so much easier. I also think it’s absolutely vital to have an equal gap between all prints regardless of what kind of gallery wall you’re putting up. Even if it’s not 100% accurate, just aim to get it as close as possible as completely different gaps doesn’t look right in my opinion!

Installation
When you’re ready for your gallery wall to go up, there’s a couple of tips and tricks that I’ve found work wonders for getting it accurate. Some heavier frames do require a screw, however I try to work with nails where possible as I think they’re so much easier to easily adjust. You can move them over an inch or so without the faff, and you can also bend them a little if a frame isn’t quite as high or low as it needs to be. My boyfriend Jake is a perfectionist with DIY and he will judge me for including this as a tip, but if you’re an amateur like me then what works, works… Another tip if you mess up slightly and a frame isn’t level, is to wrap masking/frog tape around the nail until it looks more level. You can also do this with screws, saves you having to take it out and re-do it! I always, always use white tack at the bottom of my frames too to hold them in place, even if you put them on the wall perfectly, it only takes a door shutting and a gust of wind to knock it slightly, the white tack just holds it permanently in place. A must!
Where To Buy Prints
In terms of places to buy prints, my favourites are IKEA for cheap frames, Desenio and Junique for both prints and framed prints, and sometimes Etsy for some more unique artwork!
Have you got a gallery wall up in your house? What would your top tip be?


