How we transformed our new build living room…
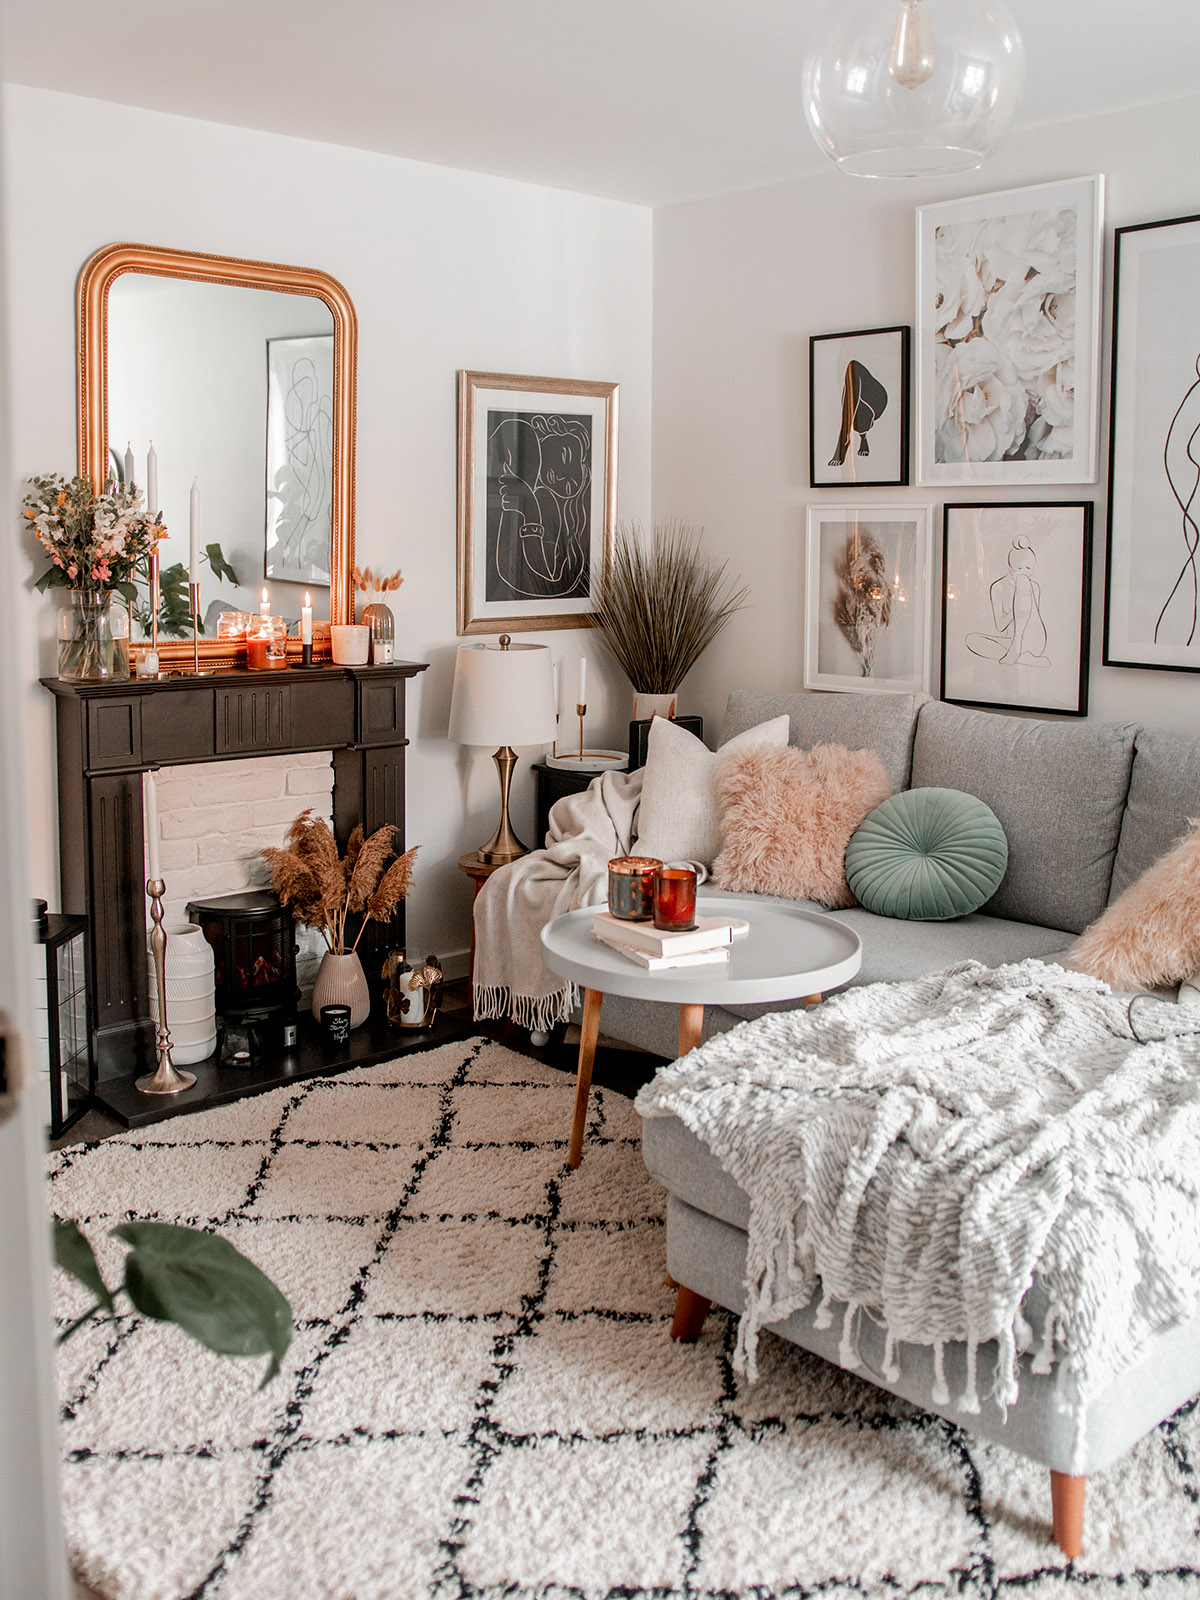
Many people online are shocked when they find out that I live in a new build, mainly from the content that I share of our living room fireplace and alcoves, as this room really doesn’t make it look like one. It always makes my day, as it really is our biggest renovation goal to transform our home from a plain white box, into a home that is full of character and life.
I made a post earlier this year on how we added a log burner to our new build, but since then we have finished the space in full with the addition of our alcove shelving units. Whilst I have shared much of this process before, I thought that I would do an updated post on the renovation journey that took us from a blank room, to this incredible cosy space.
The process


Jake built all of this himself around his full time job, so to make life a bit easier under time constraints as well as for financial reasons, we did this project in stages. The first step was to build the false chimney breast and install the log burner, this was obviously the biggest and messiest part of the project so he did this bit before I had even moved in. The only part that he had some help with, was installing the flue on the outside of the wall as this required lifting extremely heavy piping up a ladder and Jake didn’t feel overly comfortable doing this.
Whilst it’s not a brick chimney, I can honestly say that we never notice it’s there, it’s at the side of our house over the driveway and far enough back that it’s not very noticeable from the front of the house. It’s also black, which ties in with the dark elements of our house that are around all the windows, door frames and roof. It really was a very small price to pay for having a real fireplace inside our house and we have zero regrets.


The Christmas after I moved in, once the log burner was fully built, Jake got started on the alcove cupboards. We lived with these empty for a while but we were desperate for the storage besides anything else! Jake built the cupboards entirely from scratch, and we added picture rail to the doors to give them a pretty decorative finish. We wanted lots of detail to tie in with the intricacy of the fireplace surround, and give the whole feature wall lots of character.
The cupboards were also finished off with some skirting board the whole way across which added more detail and gave them a nice trim. We then lived with these for another six or so months and ended up painting the back walls in the same paint to bring in a bit of consistency.
Eventually, after a rubbish few months of weather and Jake was able to work outside a bit again, he got to work on the alcove shelving which was the final piece of the puzzle. I spent a long time debating what to do with these shelves, how many to have, what kind of boxing in to give them, and eventually fell in love with the idea of a very traditional looking arch. I love them so much and they’ve really given the units a stunning finish. I think they tie in with the feature wall as a whole beautifully, and give it those traditional elements that we wanted from the start.
The finished look


We originally picked a very neutral paint for the space, but after one coat, quickly decided that it just looked totally bland. I ended up picking up a tin of Farrow & Ball in the shade Mizzle and I am so happy with the choice. We love the colour and it adds a lovely splash of colour to the room, without being too much, and not taking over the pretty details.
They are very much full of lots of pretty bits and trinkets, but I think that is so much better than them being sparse and lacking in character. I am a huge shelfie kind of girl and a full shelf is the best kind in my opinon! I also love changing the alcoves up with the seasons, and can’t wait to decorate for Christmas again this year now that it’s fully complete.


Let me know what you think of the space! Do you think we made the right choice installing this to our living room?