Anyone who’s tried to squeeze a bath, a basin and a toilet into a room the size of a large cupboard will know a small bathroom renovation is a whole different beast to renovate. I learnt this the hard way during my previous bathroom makeover, and I’m learning it all over again now that we’ve started planning our current one. It’s easy to fall down a Pinterest rabbit hole of gorgeous tiles and brass taps (guilty), but before any of that gets ordered, there’s some less glamorous groundwork to do first.
Because here’s the thing with a small bathroom: there’s no room for error. A wardrobe that doesn’t quite fit in a bedroom is annoying. A shower door that doesn’t quite fit a tiny bathroom means an expensive, useless pane of glass sitting in your hallway. So before the fun part of choosing finishes, it’s worth measuring properly and working out what you actually need.
Measure everything, twice
I know, measuring is boring. But it’s the single most important step and the one people are most tempted to skip. Get the length and width of the floor, the height of every wall (they’re often not the same, especially in older houses like mine), and the exact positions of the door, window, radiator, pipework, sockets and anything else in there.
Sketch it all out as you go, note which way the door swings open, and if there’s an awkward alcove, a boxed-in pipe or a sloping bit of ceiling, measure that separately rather than treating the room as one neat rectangle. It never is.
Once you’ve got your numbers, a quick square footage calculation turns them into an actual area, which you’ll need for ordering flooring, tiles and boards. If your room isn’t a simple shape, break it down into smaller rectangles, work out each one, then add them together, and keep your floor and wall measurements separate, since they’ll use different materials.
Think about how you’ll actually move around it
This is the bit people underestimate most. A layout can look beautiful on a moodboard and then feel impractical the second everything’s installed. Before committing to anything, check if there’s enough room to open the cupboard doors, step out of the shower without elbowing the sink, and sit comfortably on the toilet.
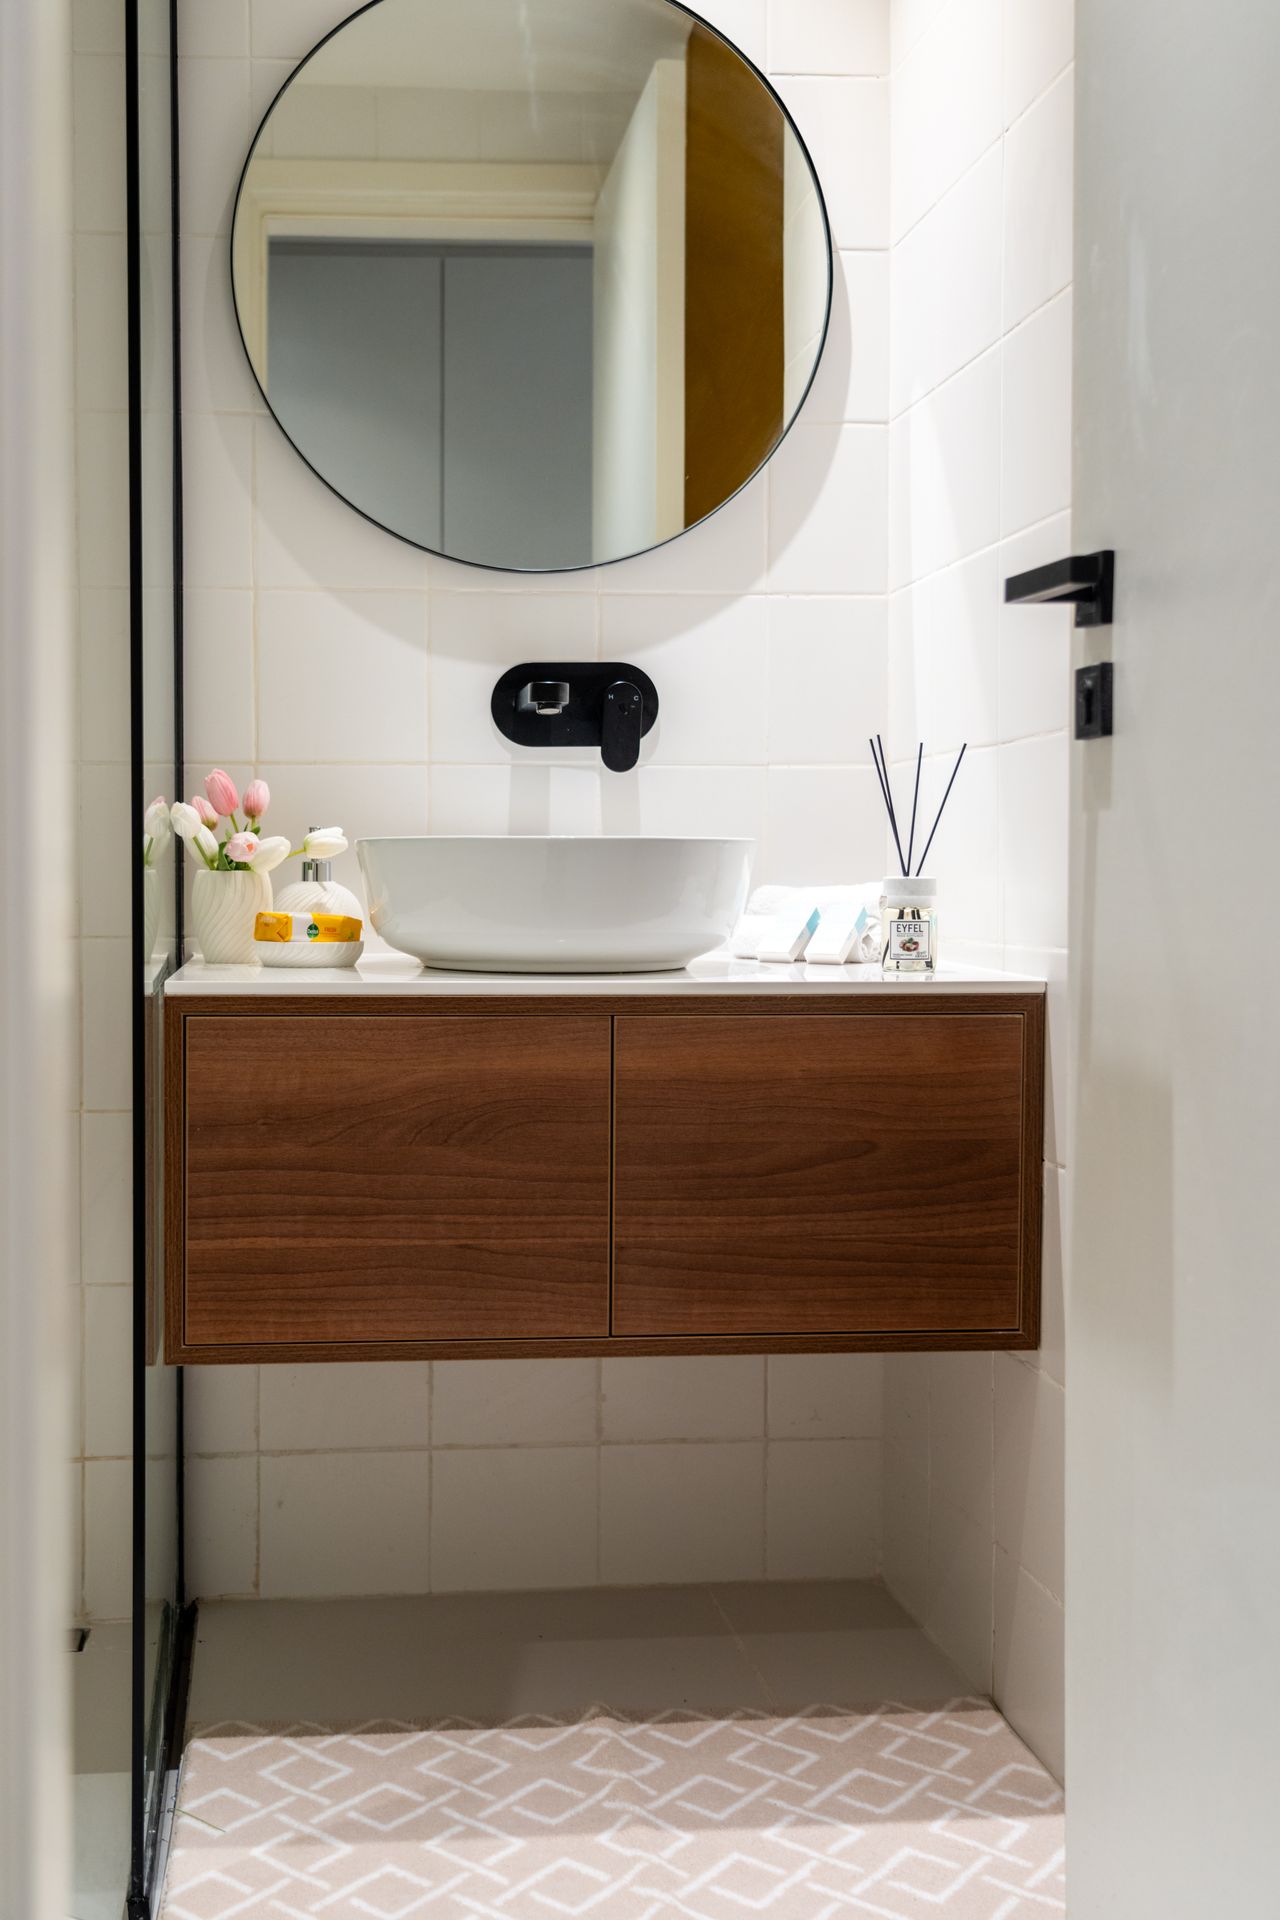
I’ve had to compromise on my own dream bathroom here. I’d love a separate bath and shower, but our room isn’t big enough, so we’ve gone for a single-ended bath with a screen instead. Sometimes, a shorter toilet, a wall-hung vanity or a narrower basin is the difference between a bathroom that works and one that just looks nice in photos.
If you can keep the toilet, basin and bath roughly where they already are, do it, it’ll save a lot of hassle. Moving pipework and drainage is a much bigger (and pricier) job, so have a proper chat with a qualified plumber or fitter before deciding it’s necessary.
Work out your boards before you fall in love with tiles
Before anything new goes up, have a proper look at your existing walls and ceiling for soft patches, bowing, staining or anything that looks a bit mouldy. It’s not the nicest job, but catching a hidden leak or ventilation problem now saves a much bigger headache later.
Once you know your walls are sound, work out how much board you need, plasterboard, in UK speak. A drywall calculator will do the maths based on your room’s dimensions, factoring in windows and doors too, so you’re not left over-ordering or running short halfway through.
Check what sizes your supplier stocks. Smaller boards are easier to carry into a tight space; larger ones mean fewer joints to fill. Either way, add a bit extra for offcuts and mistakes, especially around pipes or awkward cuts.
And a genuinely important bit: not all plasterboard is suitable for a bathroom. Moisture-resistant board can work in some areas, but anywhere that gets regular splashing (around the bath or shower) really needs a proper tile backer board with a compatible waterproofing or tanking system underneath. Always follow the manufacturer’s full system rather than mixing and matching; it’s there for a reason.
Choose finishes that can actually cope with a bathroom
Bathrooms are a hostile environment for materials, between the steam, the splashing and the temperature changes. Flooring needs to be rated for wet rooms with decent slip resistance, walls and ceilings need bathroom-suitable paint, and anywhere water pools deserves a proper sanitary sealant.
On tiles, I go back and forth constantly (my moodboard changes weekly, if I’m honest). Larger tiles can make a small room feel calmer, but they’re not necessarily easier to fit around awkward corners, since they often need more cutting. Smaller tiles are more forgiving on tricky surfaces, but bring more grout lines to keep clean. There’s no universally right answer; it comes down to your room’s shape and the look you’re going for.
Don’t skip the ventilation
This one’s easy to forget when you’re deep in the fun stuff, but it genuinely matters. Without decent extraction, moisture has nowhere to go, and that’s exactly the environment mould loves. If you’re keeping an existing fan, test that it actually vents outside rather than into the loft, and sort the fan, ducting and any wiring before the walls close up; it’s a much bigger job to fix afterwards.
Only order once the plan is properly settled
Before anything gets added to a basket, go back through your measurements, your layout and your product specs together. Double-check that fittings will actually get through the door, boards can be carried into the room, and every finish you’ve picked is suited to where it’s going.
A small bathroom renovation isn’t about cramming in every feature you love; it’s about making the right calls early on, keeping moisture under control, and using the space you’ve got as well as possible. Do that, and the finished room will feel a lot more considered, and hopefully a lot less stressful to get there.