~ ADVERTISEMENT ~

Looking for some Halloween makeup inspo?
I’m so excited to be creating some freaky Halloween makeup for the Stand Out From The Crowd Campaign with Boots! Boots have challenged me to create a simple skeleton makeup look just in time for Halloween – but with a bit of a twist. My twist on the classic Halloween look is that I’ve done half a normal full glam face and created a skull look on the other half. If you’re not overly confident with this kind of thing, and want to create something a little less time consuming and simple, then only doing half a face makes it much easier. It adds a more relaxed touch too, especially if you have kids, making it not too scary for them!
The Boots products that I’ve used to create this look are all absolutely gorgeous and highly pigmented so they’re perfect for a full night of partying your little heart out. If you’d like to see a step by step of how to get this Halloween makeup look then keep on reading boys and gals.

Boots products
The products featured in this Halloween makeup look that can all be found available at Boots include the Morphe X Jaclyn Hill Armed & Gorgeous Eyeshadow Palette, the NYX Professional Makeup Jumbo Eye Pencil in Milk & the NYX Professional Makeup Soft Matte Lip Cream in Transylvania. They also sent over the Doll Beauty Faux Mink Lashes in Poppy which are gorgeous and the perfect addition to a Halloween look; but sadly because I recently got lash extensions I couldn’t pop these on. They would have finished it off perfectly though! Can we just talk about the Morphe x Jaclyn Hill Armed & Gorgeous Palette for a sec though, how beaut is it?! It’s so autumnal, those golden shimmers are insanely pigmented! ![]()
In addition to the Boots goodies, I have used a few of my own in order to create this look, there’s no right or wrong products to use here as you can use anything that will work. I just grabbed bits out of my makeup drawer to do the job – but I will mention that if you don’t have a white face paint, one of those will come in handy for obvious reasons. You can also use a black face paint if you wish, but I find that black eyeliners are much more pigmented and give a better finish. So, let’s get into it shall we!


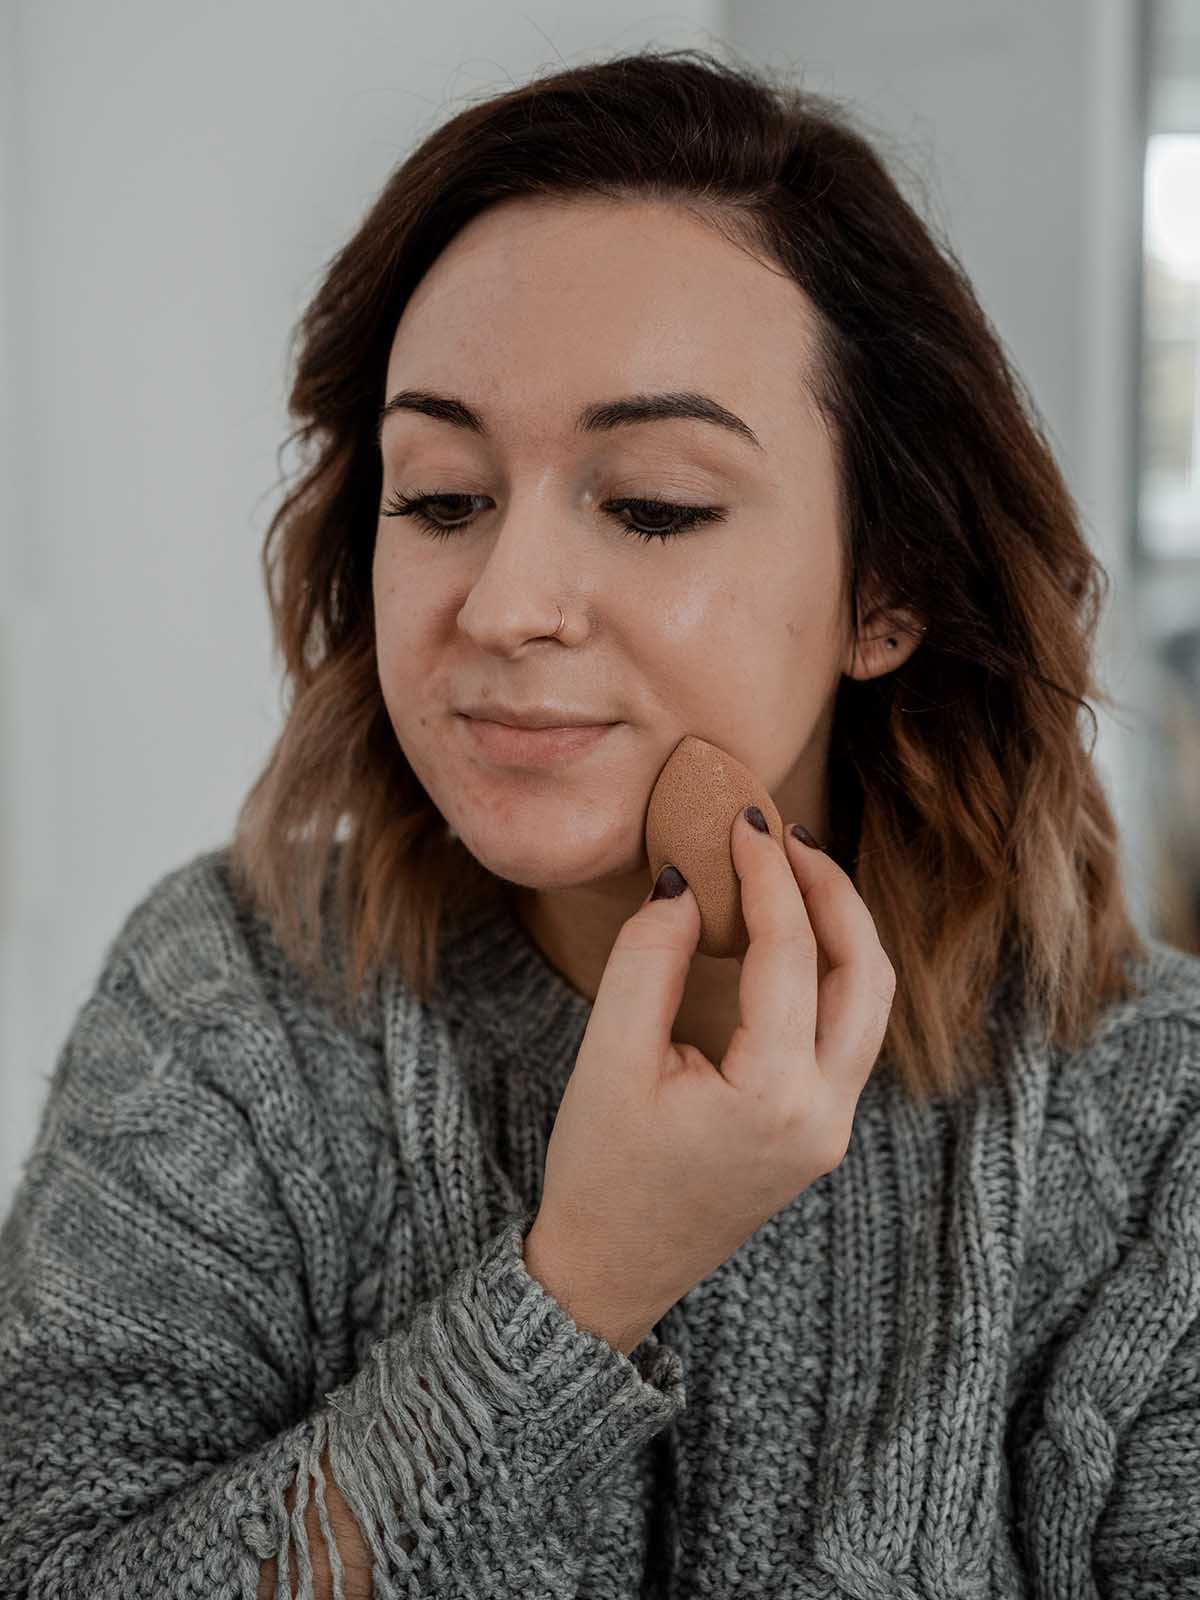
Step One
I started off by deciding which side was going to be which, I decided to have the best side of my face as the full glam as the skull makeup is an improvement for those bad angles. Ha. Once decided, I went in as normal with my foundation for the full glam half, going slightly over to the opposite side as the white face paint stands out more and can be used to split the two up. You can literally use any foundation for this, use one you don’t reach for often if you’re not bothered about it being perfect or use your favourite to achieve a really full coverage. I used a new Morphe one I recently received and just applied it with my beauty blender.
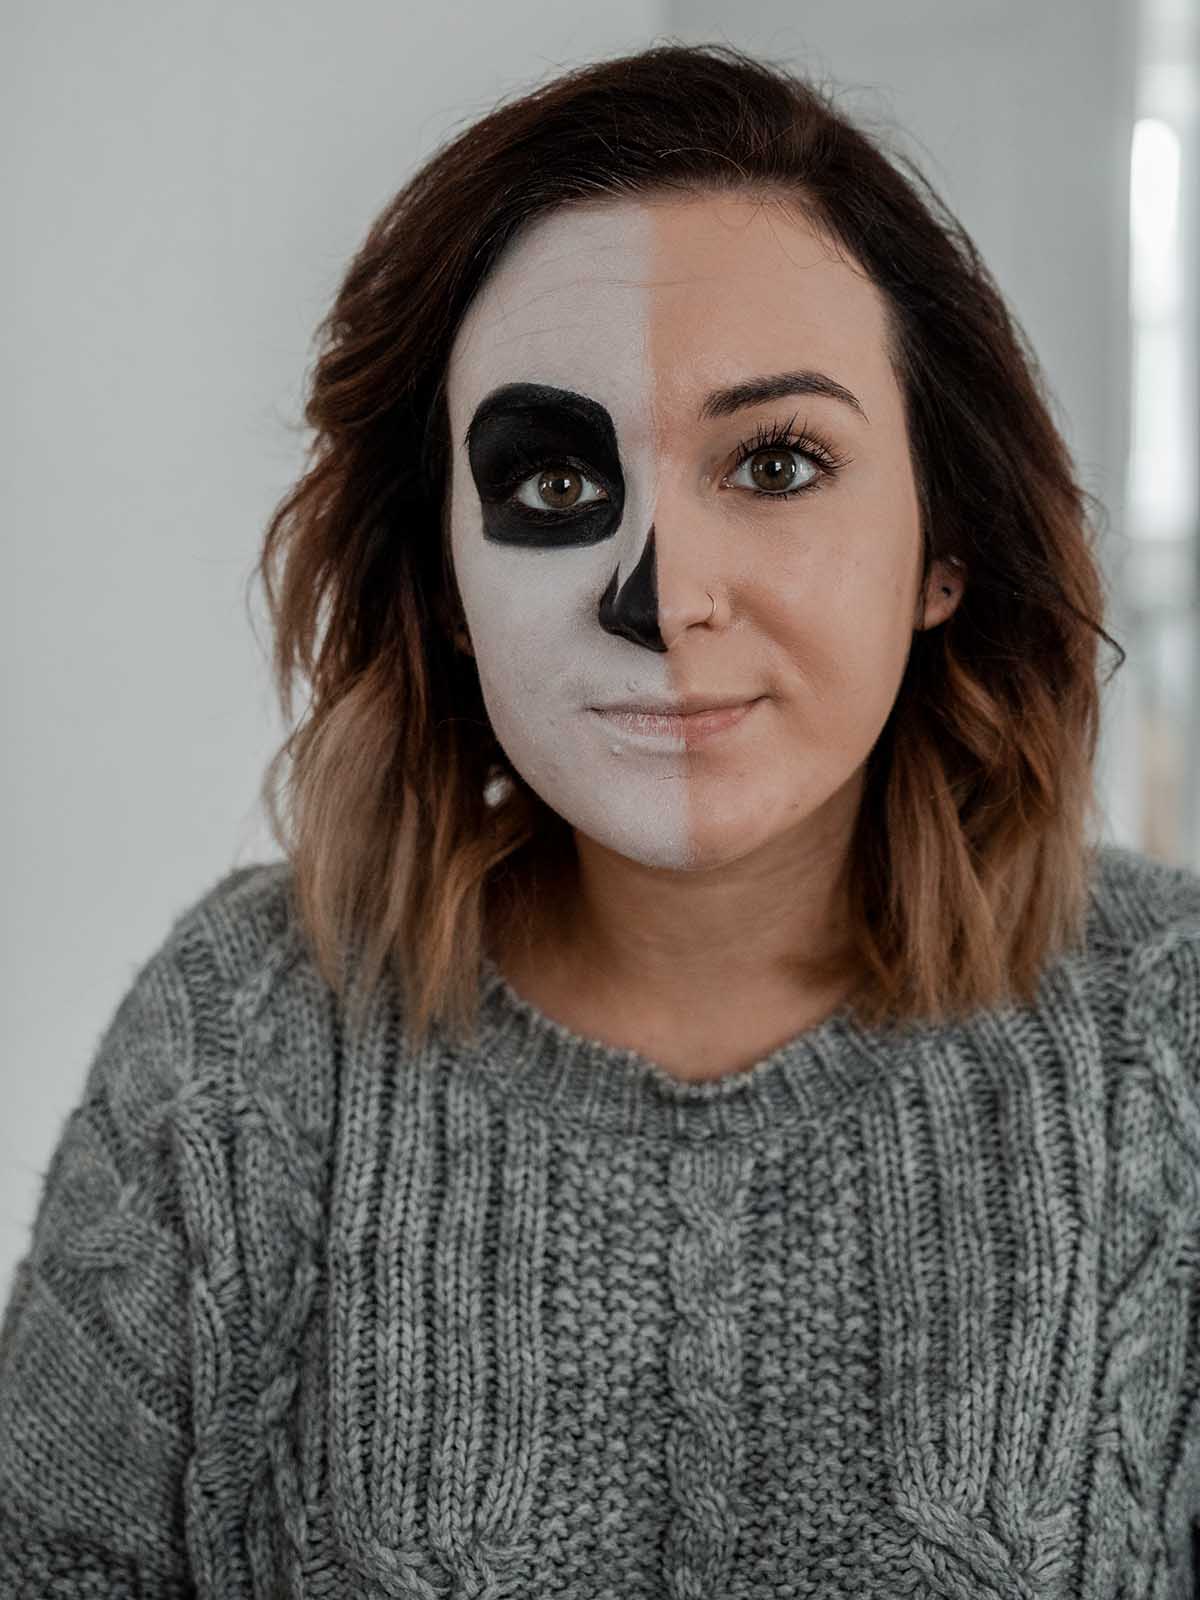
Step Two
For the skull half, I went in with a makeup brush that I don’t use (as then you don’t ruin your favourite ones) and the white face paint. I just picked mine up in Asda for around £3 but at this time of year you can get them everywhere. I split the face up with a soft line and then filled in the other half of my face. For the eye and nose detail, I just drew the shapes softly and then filled in afterwards. There’s so many different styles in which you can have these on so I would suggest just having a quick google of different types and using whatever you fancy. I just used a cheap Primark black eye pencil for this bit, it helps to use one that’s creamy as it’s easier to fill in.


Step Three
I then started to add a bit more detail, you don’t need to go too crazy with this part if you don’t want to, so I just kept it super simple. I used Pinterest images for a bit of guidance, so you can either do the same or just use mine. I just used my black eye pencil to add bits of detail, and I also drew on the definition for the skull teeth to give me an idea of where to add the white detail.
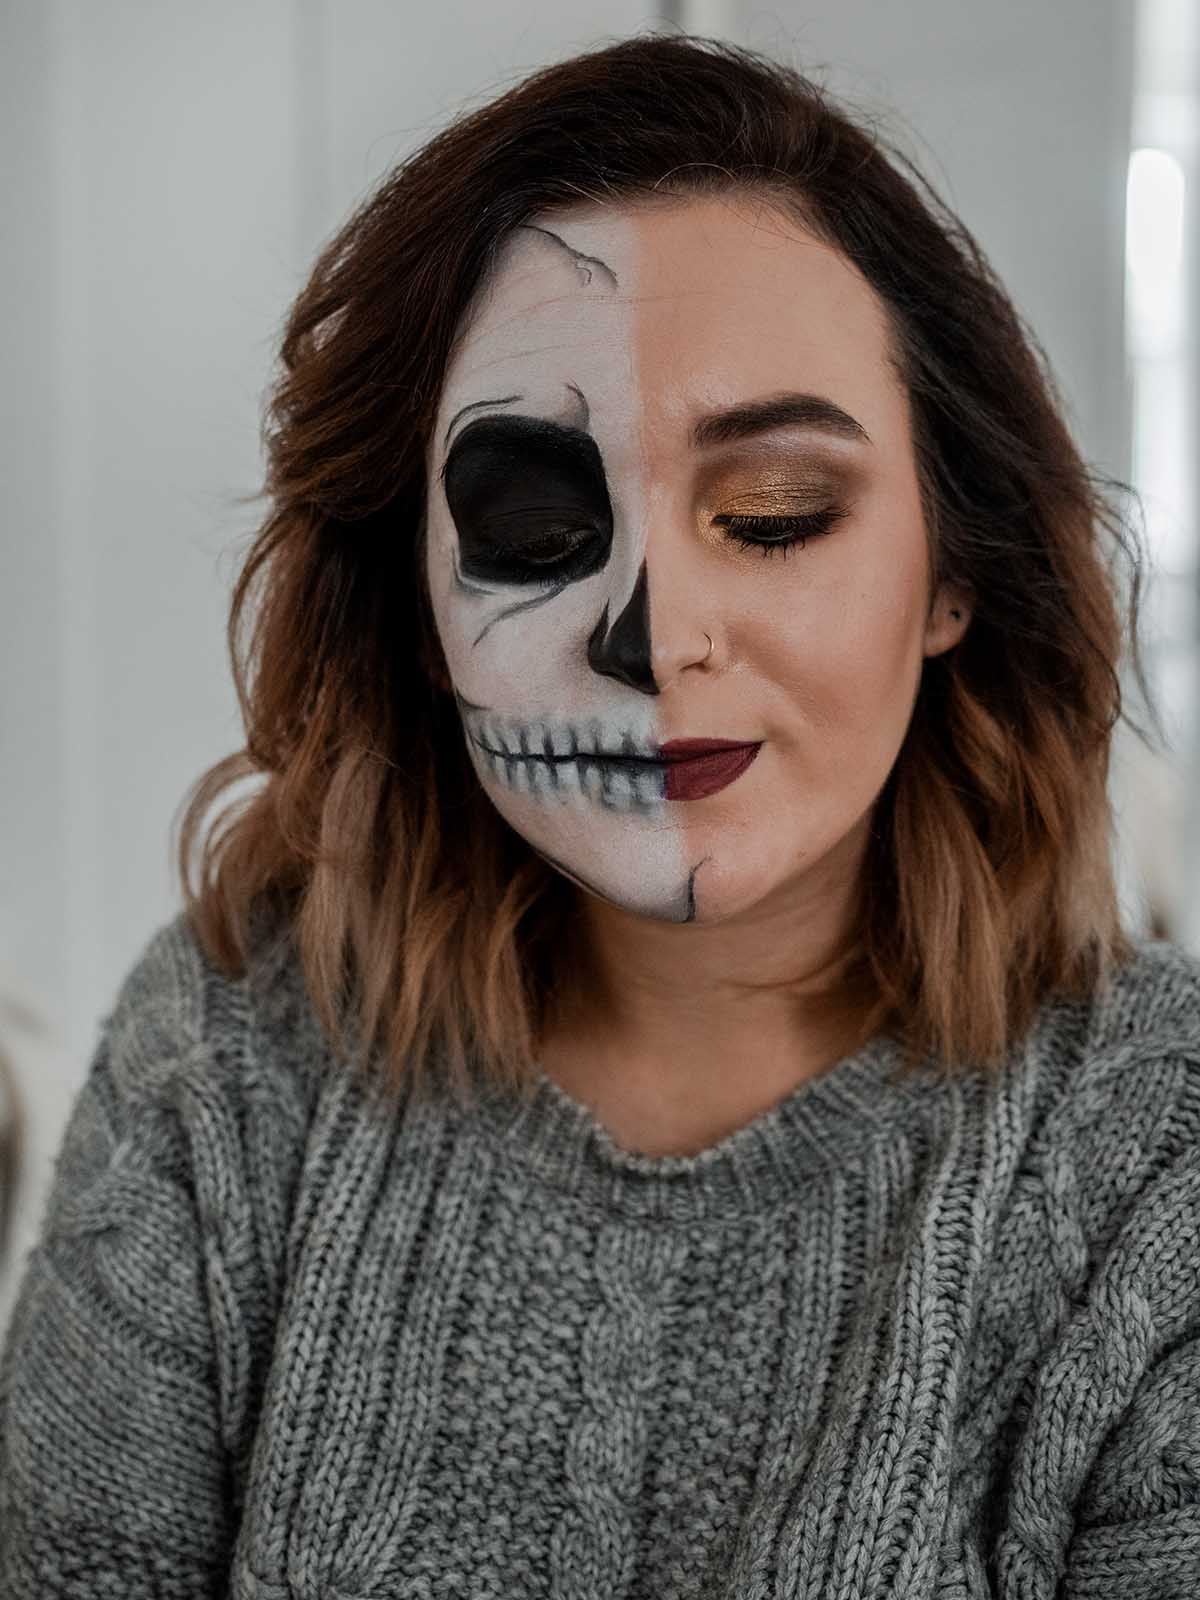
Step Four
I went in with the NYX Jumbo Eye Pencil in Milk to create the teeth and fill in the gaps between the black lines. The NYX pencil is whiter than the face paint and I also layered it on quite a bit so that the teeth didn’t just blend in with the white base. Something to bare in mind when you’re doing your base, you don’t want to make it too white. I also filled in the other glam side of my mouth at this point with the NYX Soft Matte Lip Cream in Transylvania. Such a gorgeous vampy shade!
Step Five
I rooted through my eyeshadow palettes to find a light grey shadow and took a small flat brush just to add in a bit of shadow to the black line detail I’d already done. This just gives everything a bit more definition but it’s a step you can totally miss if you don’t have that sort of time. I would definitely add in this part to the teeth area though as it makes a huge difference there, it really helps to give them more shape.
Step Six
I filled in the glam side of my face like I would on an everyday basis, filled my brows in, added a bit of contour (a little bit more than usual) and a bit of blush. I also added in heaps of highlight just to get a really glowy touch to compliment the other side of my face that was totally white. For my eyes, I used the Morphe X Jaclyn Hill Armed & Gorgeous Palette to get a lovely smokey, golden look. I blended the shades smooth criminal & prowl in my crease line, outer corners of my eyes and under my lower lash line to get a smokey look. I then went in with a mixture of guilt trip and coin but mostly coin on the base of my lid to get a really glittery and bright look. I brought coin out into my inner corners too, to get a lovely golden look. I love how it turned out!
Step Seven
I went in with my big fluffy blending brush to blend everything out, dipping it back into the shade prowl again to intensify the crease and outer corner areas for a deepened smokey look. I think having a more dramatic eye works really well with the skull side as you can see! step eight.
For the final steps, I just went in with a couple of powder brushes, on the skull side I used a matte white shadow just to set the white face paint area, and you can also set the black eye pencil with a matte black eyeshadow if you really want it to last all night. For the full glam side of my face I just used my regular matte face powder and powder brush. To finalise the look you can always have a quick spritz with a setting spray too, which I’d probably recommend if you’re heading out to a halloween party all night.

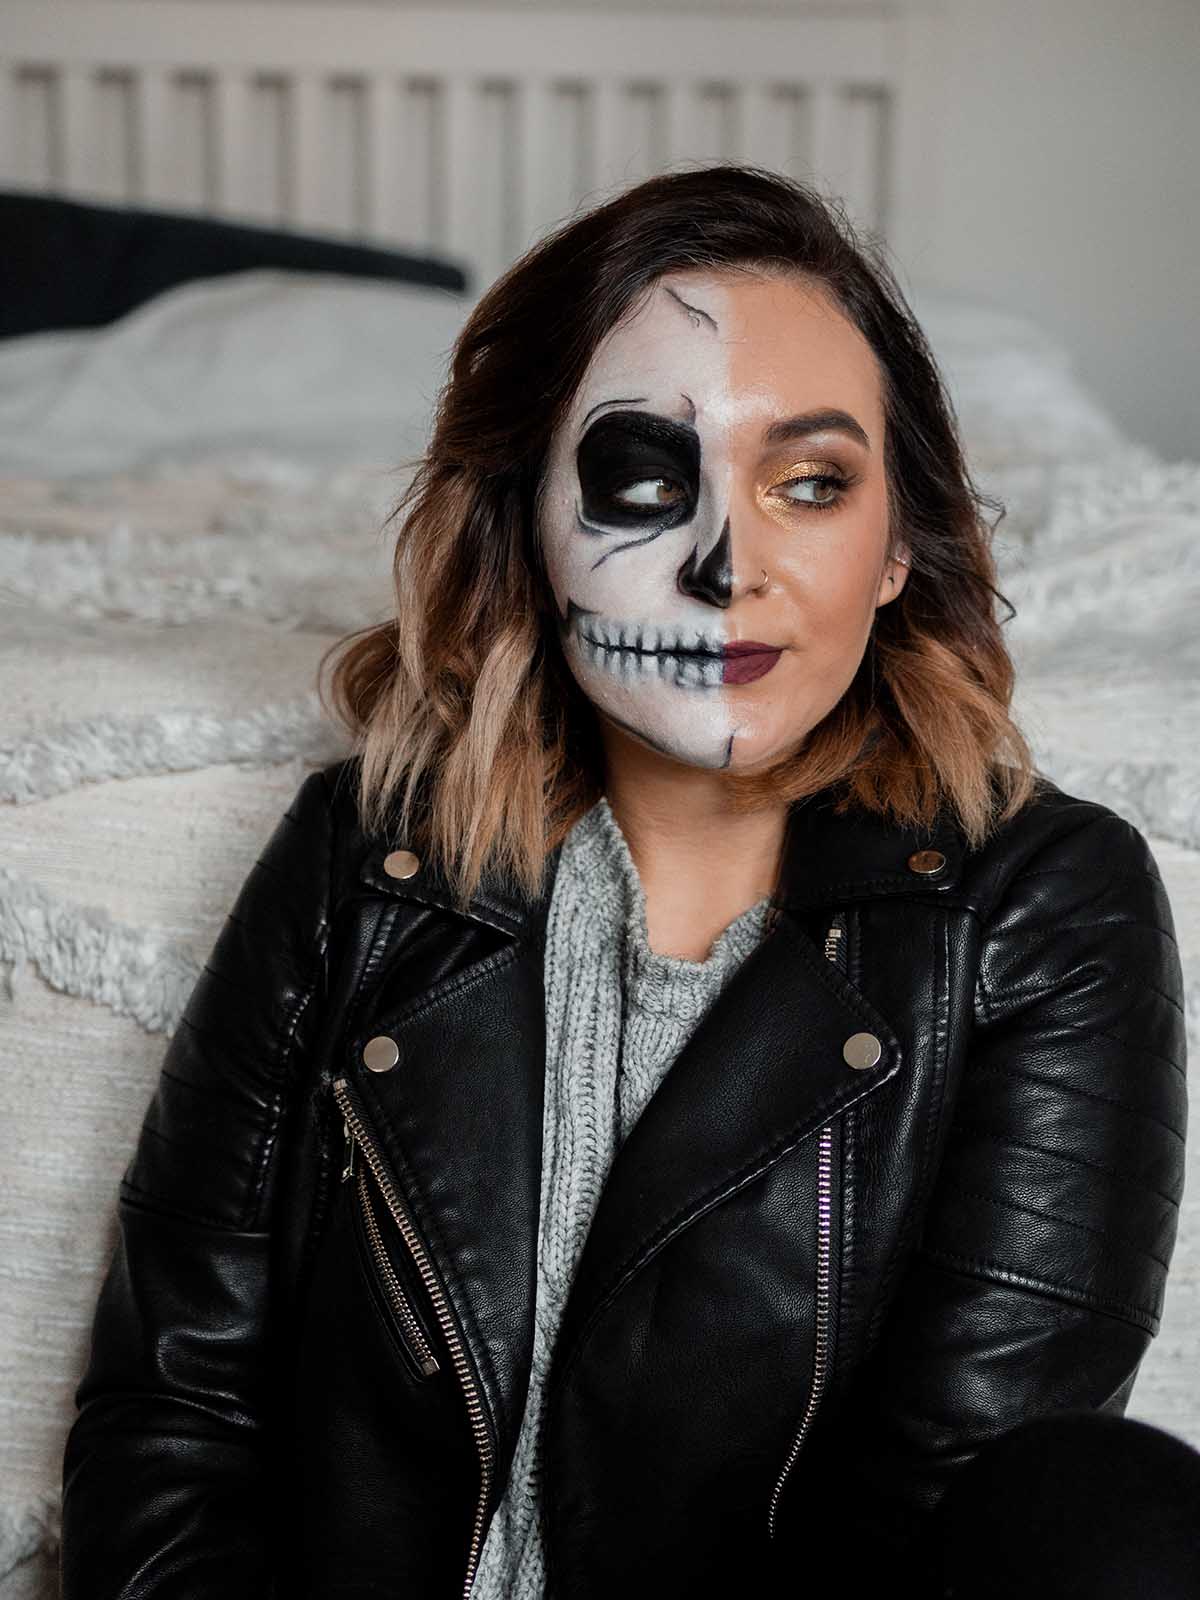
And that’s the finished Halloween Makeup look! I hope you guys love how it turned out as much as me, and if you recreate this, do let me know and tag me over on Instagram as I’d love to see it. This is actually my first time creating a skeleton makeup look so I’m pretty chuffed with how it turned out for a first attempt.
Let me know if you have anything planned for halloween and don’t forget to check out Boots for the perfect Halloween makeup!
Disclaimer: This post is a paid partnership with Boots UK but all thoughts are my own.


